Hi everyone! This is John, filling in for Maria for this post. As you are probably aware, Maria and I still do pretty much everything when it comes to Cult Nails. Part of that "everything" is maintaining the website. And, part of that responsibility includes product photography. It is probably one of the most important aspects of the site, simply because the product image is all you, as a customer, have to go by when deciding which Cult Nails colors you'd like to purchase.
Before I get started, let me tell you what I'm working with in terms of my camera:
And, what I think is more important, my experience level:
On with the post...
About a month ago, I purchased, yet another, inexpensive setup in my quest to find the ideal configuration for quick, easy, and accurate product photography.
I’ve been taking pictures of our polish for the past three years for use on the site (
cultnails.com) and have exhausted, what I felt, was every possible but affordable configuration of lighting and backdrops.
I used everything from white poster board and desktop lamps with daylight bulbs, to small soft sided light boxes with continuous light soft boxes (also with daylight balanced bulbs), to taking the setup outside and using the sunlight directly.
With each of the previous configurations, I’d find something I liked a bit more than the last, yet I found myself sitting down for hours editing the images for color accuracy.
There
had to be something better that would save me all this post shoot processing and editing.
Enter the
MyStudio® MS20 Professional Tabletop Photo Studio w/ 5000K Continuous Lighting, by
Pro Cyc.
(Read more about their company
here.)

|
| MyStudio MS20 packaged at my door! |
The MyStudio
® MS20 is a tabletop version of a professional cyclorama which is molded to curve smoothly at the bottom to meet the “floor” of the display at all angles providing a seamless and corner-less joint providing the illusion that the bottom of the display continues to infinity. (That last bit I paraphrased from a Wikipedia article.)
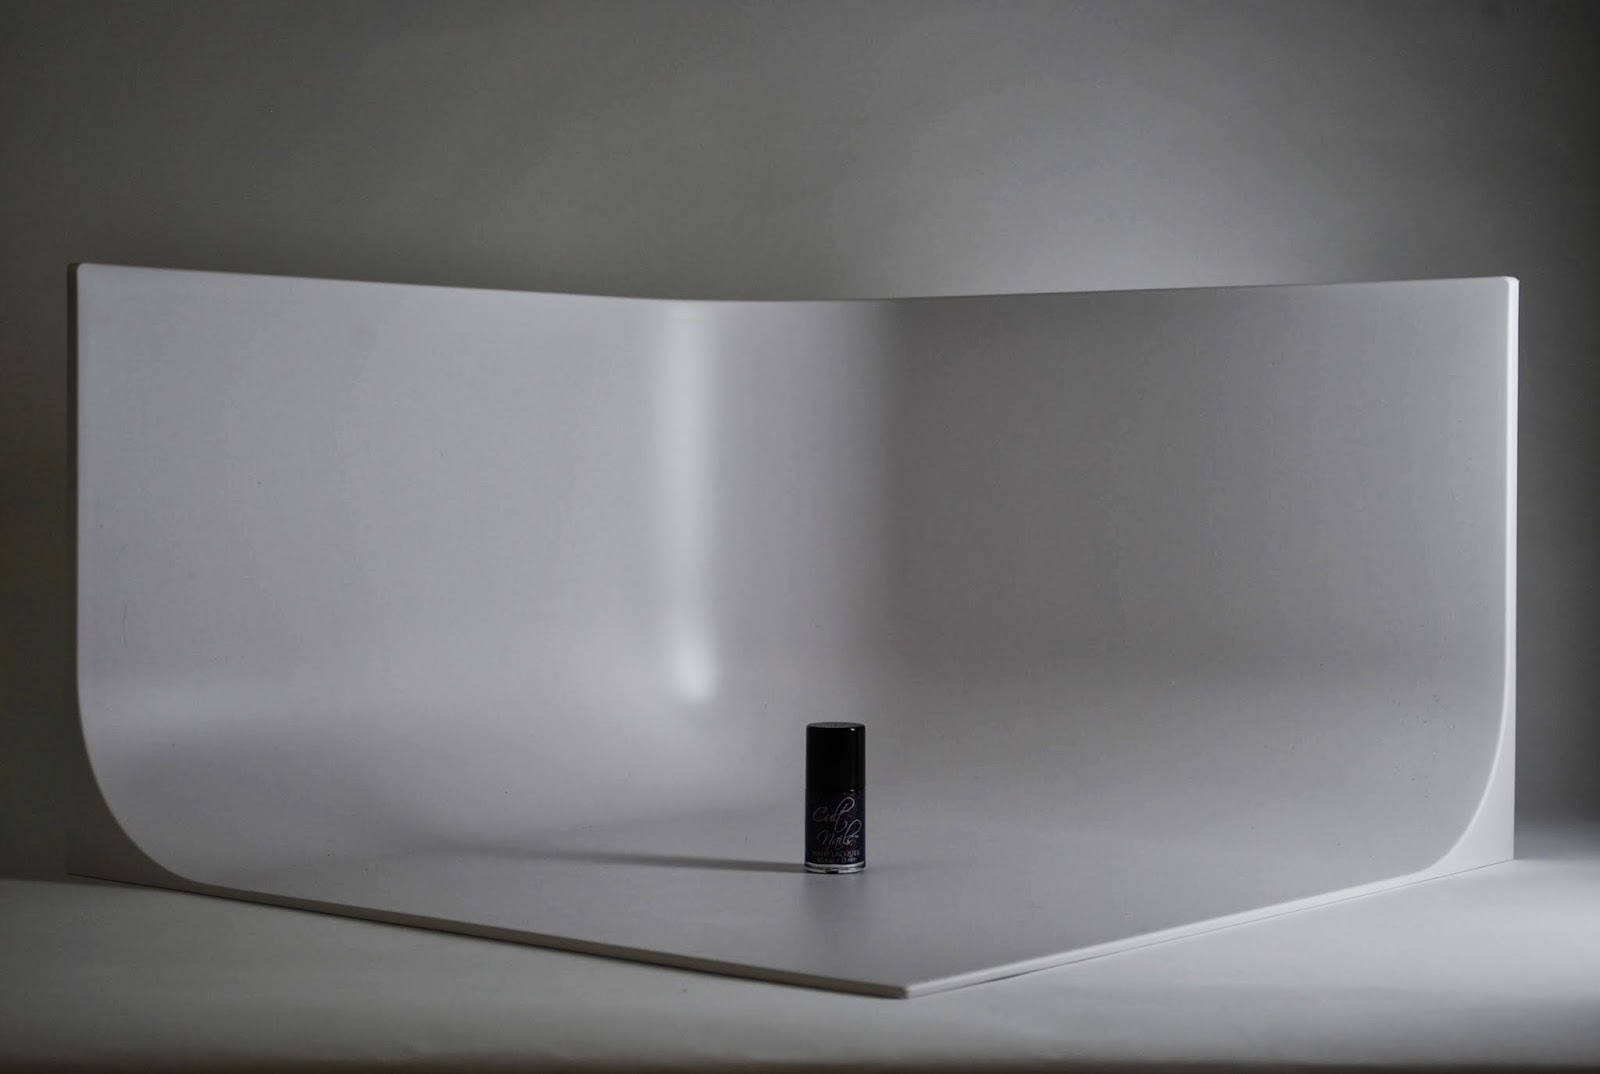
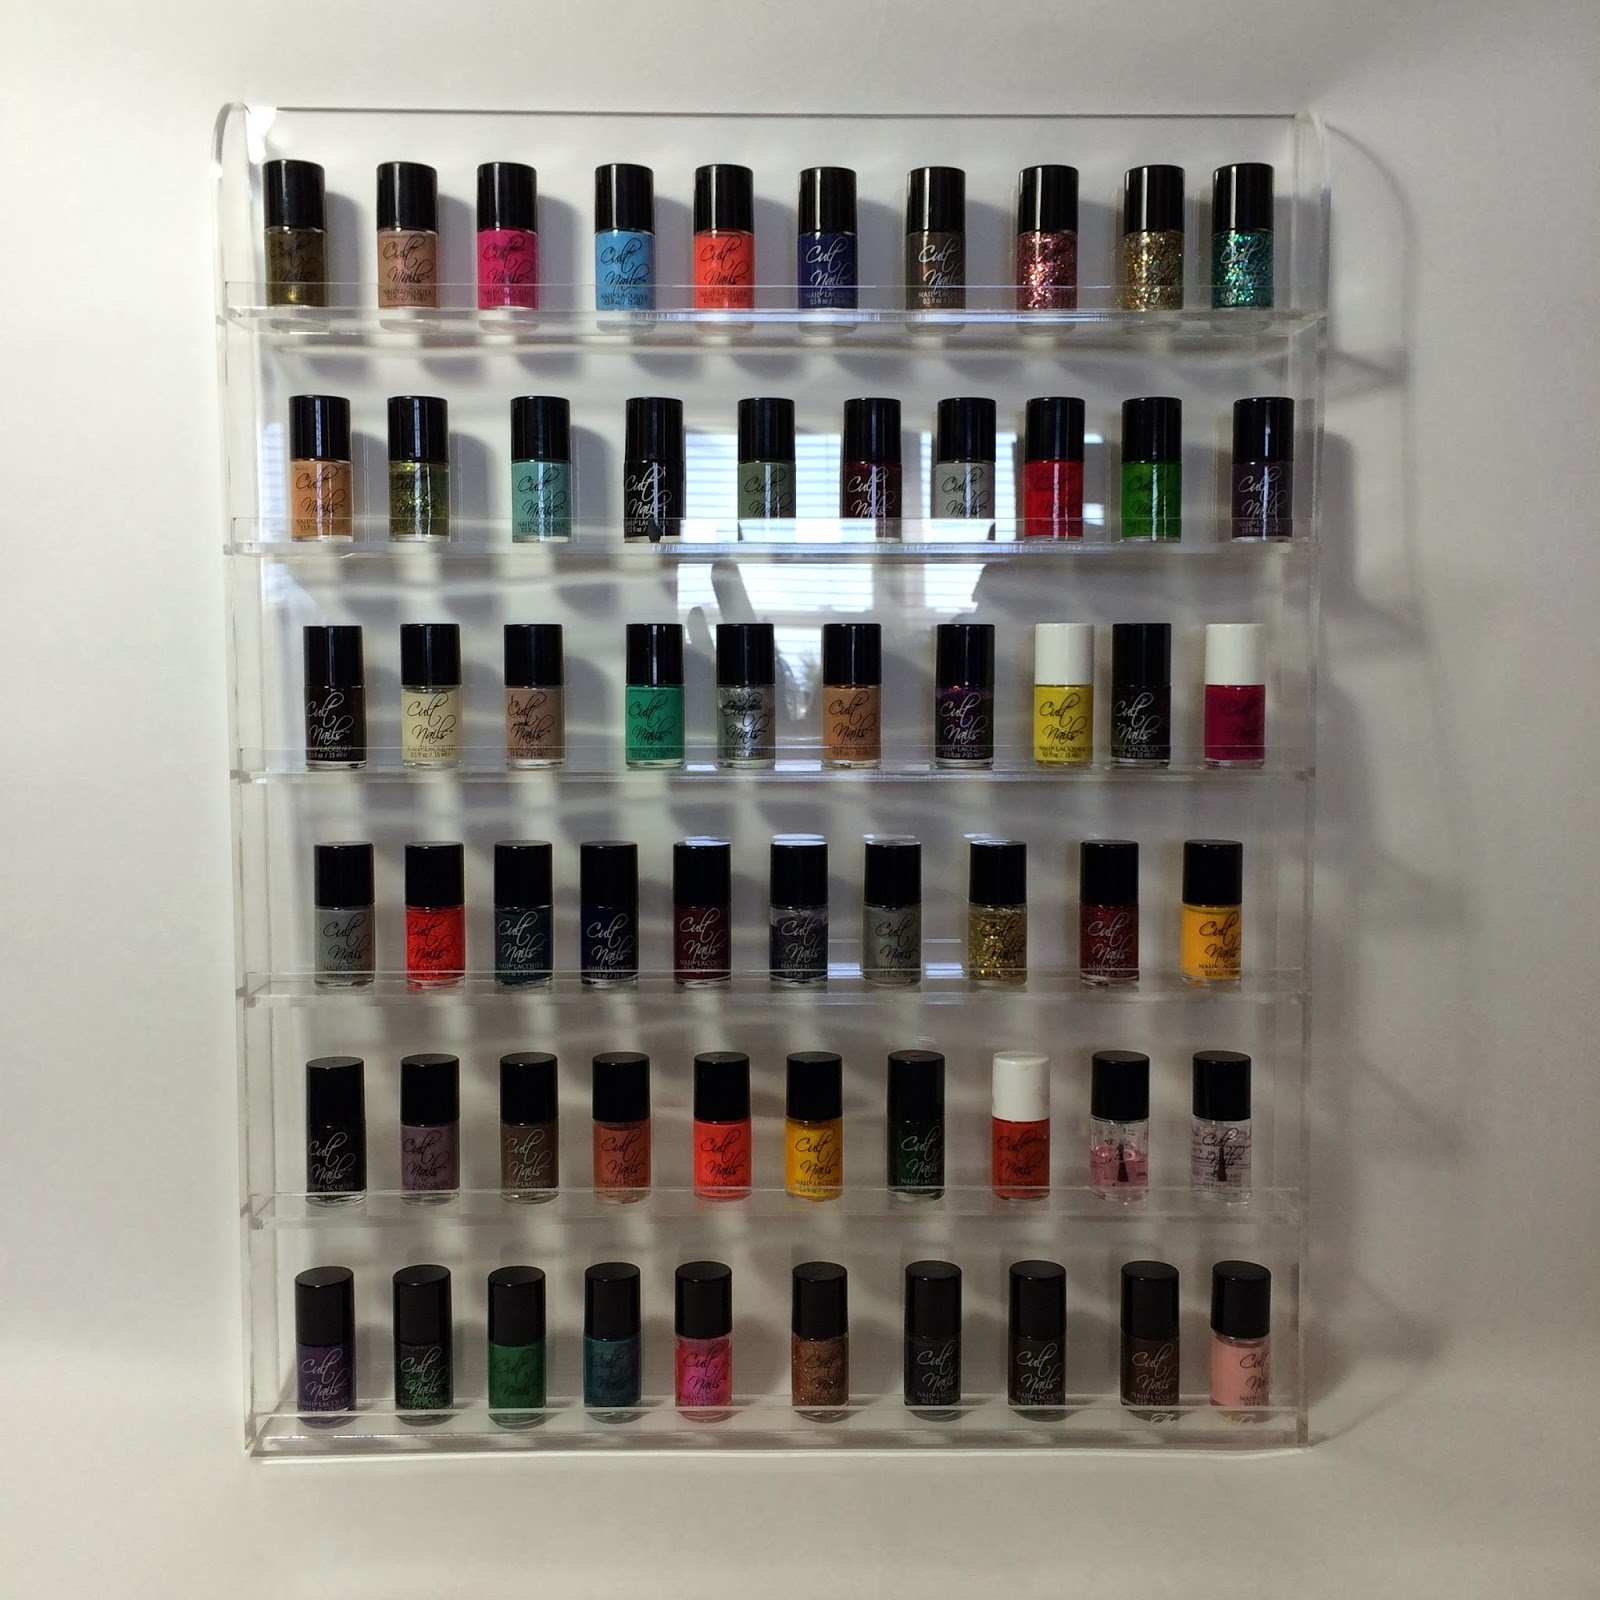
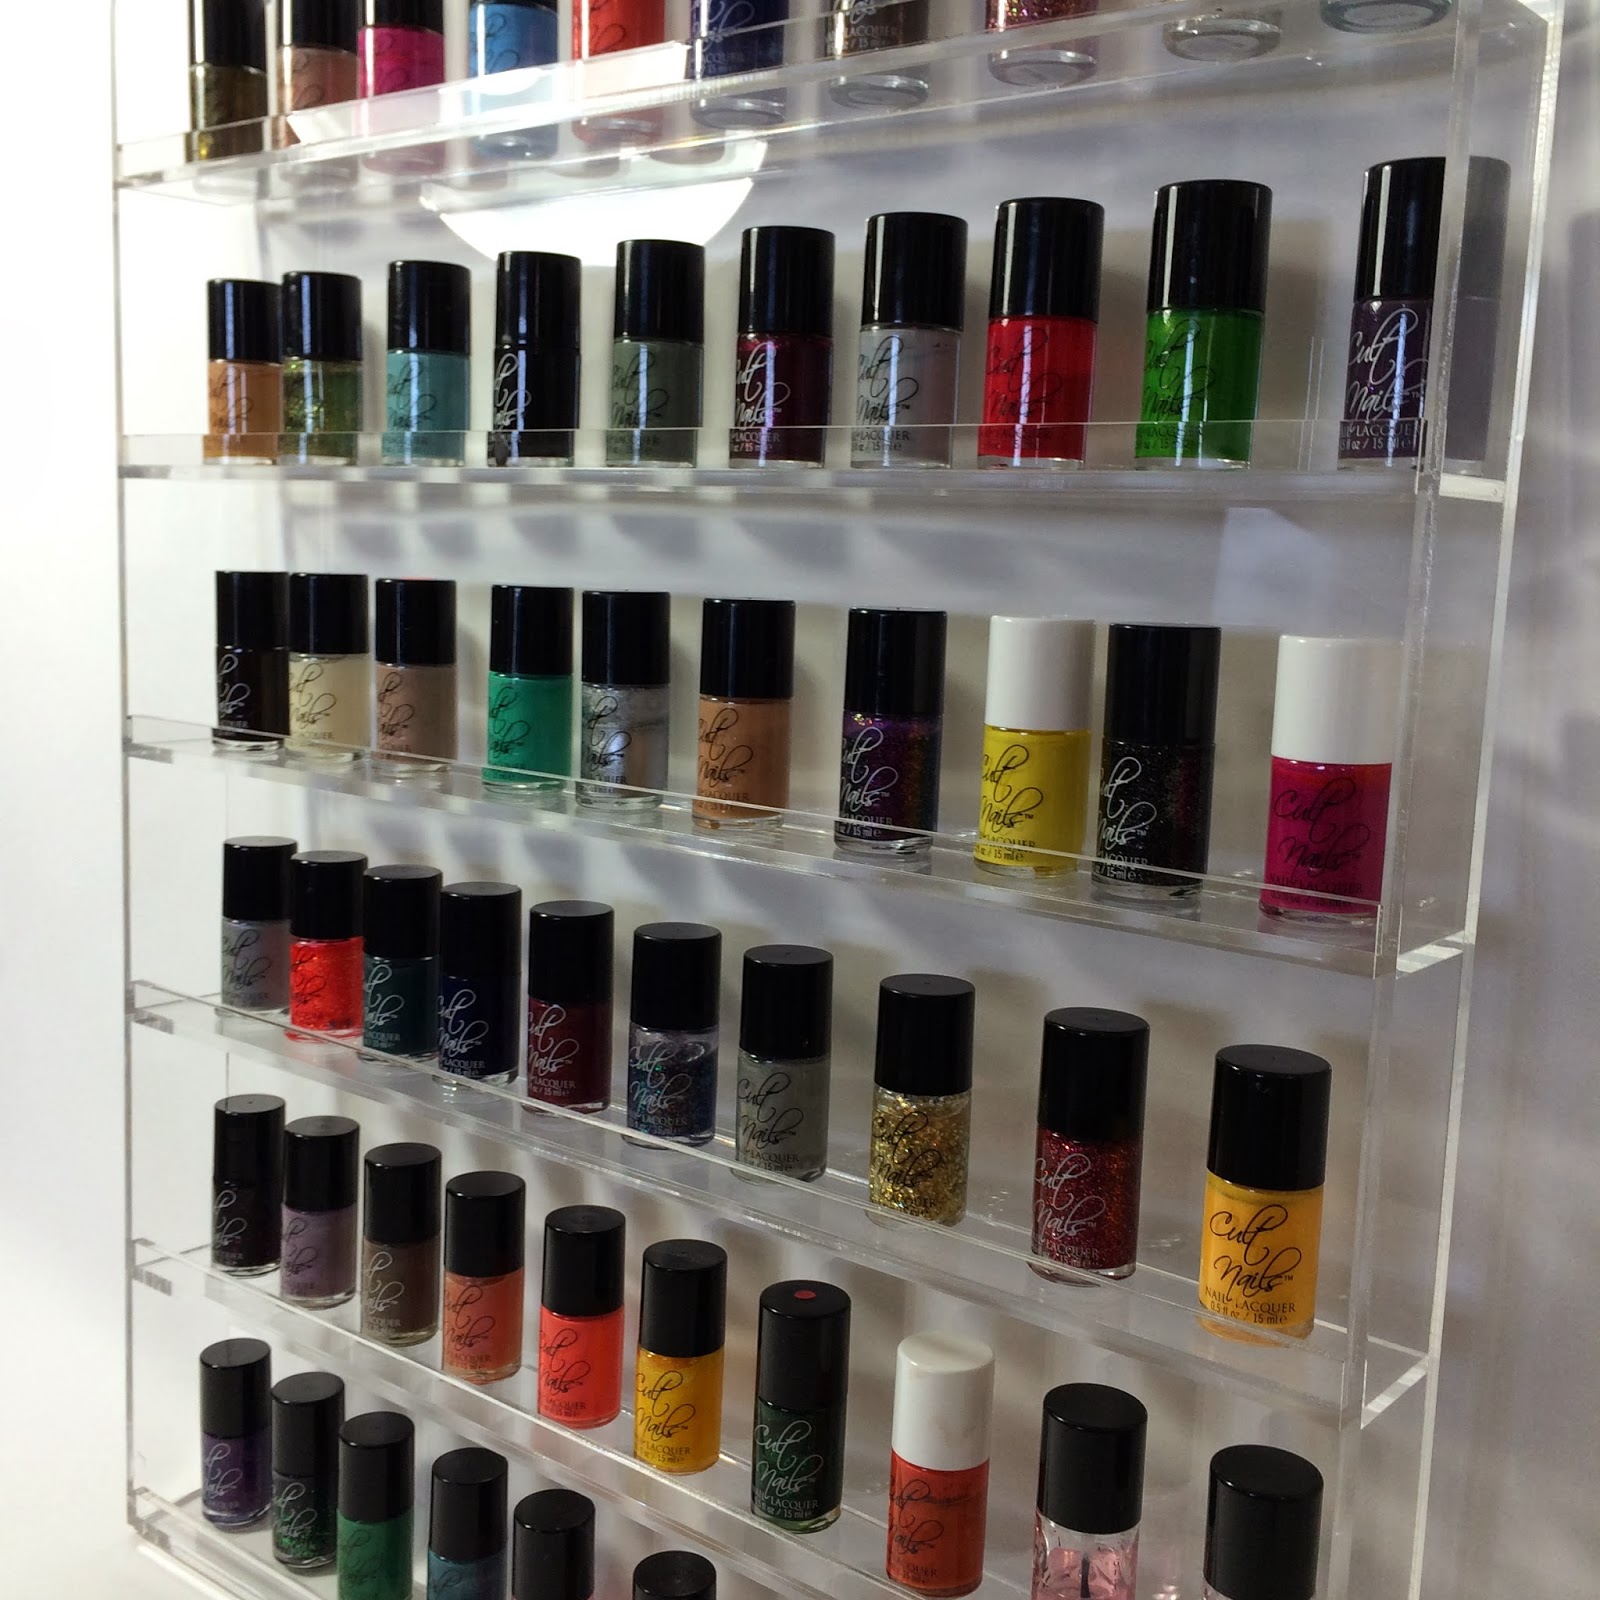
|
| MyStudio MS20 cyclorama display (shown with polish for size reference) |
As I mentioned, I’d tried to create this look in the past using other, less expensive options, getting less than stellar results. In fact, until I used the MS20, I thought my pictures were ok. I knew they needed work because some of the polish colors looked way off, when compared to real life, but no amount of editing got them exact.
I consider myself a photo hobbyist. I know a little bit of lingo, have some experience with off camera flashes, and have dabbled in long exposure light imagery. Otherwise, I’d prefer to shoot in quality light (generally outside) at subjects that have character and life. Product imagery, in this industry, is vital though! Color accuracy is EVERYTHING when considering what we sell is, essentially, color! I needed something that made this easy and was really hoping the MyStudio® MS20 would live up to its claims and the reviews I’d read.
I bought the setup up via amazon.com. Because we have an Amazon Prime account, I got a great deal on this product. It generally sells for $249.95, but the Prime price was $179.95. This was great for me, because, after reading some reviews and watching their tutorials, I wanted to add the AL1 Accent Light. It’s basically a 5000K “Daylight” fluorescent bulb in a housing that you can use with the MyStudio
® MS20 to backlight your object and essentially remove any trace shadows, etc. So, I added the AL1 (which again I saved on being a Prime member, the cost went from $119.95 to $93.50… so, basically, I spent a little more than the savings from the MyStudio
® MS20 and got the accent light). Total now spent: $273.45. Well now, this was starting to add up to something substantial…and I was getting nervous. Very nervous. It seemed like the answer to my prayers of easy product shots, but was it too good to be true?
From the moment I got the box in the mail, I was antsy to set this bad boy up and get to shooting! The cyclorama portion is essentially a large mold so, of course, the box is rather large. The background, itself, measures 20”x20”x12”. So, storage wise, it’s not the most convenient item to have sitting around the house. BUT, for the amount of product imagery we do, I’ll take my chances. Along with the background is a stand for the light (essentially the AL1) with an overhead reflector for the light to bounce off. The more I put things together, the more excited I was getting. Again, the size is a bit intimidating for the average house, but when your business or your blog depend on the accuracy and quality of your pics, the space it takes up is NOTHING in comparison.
|
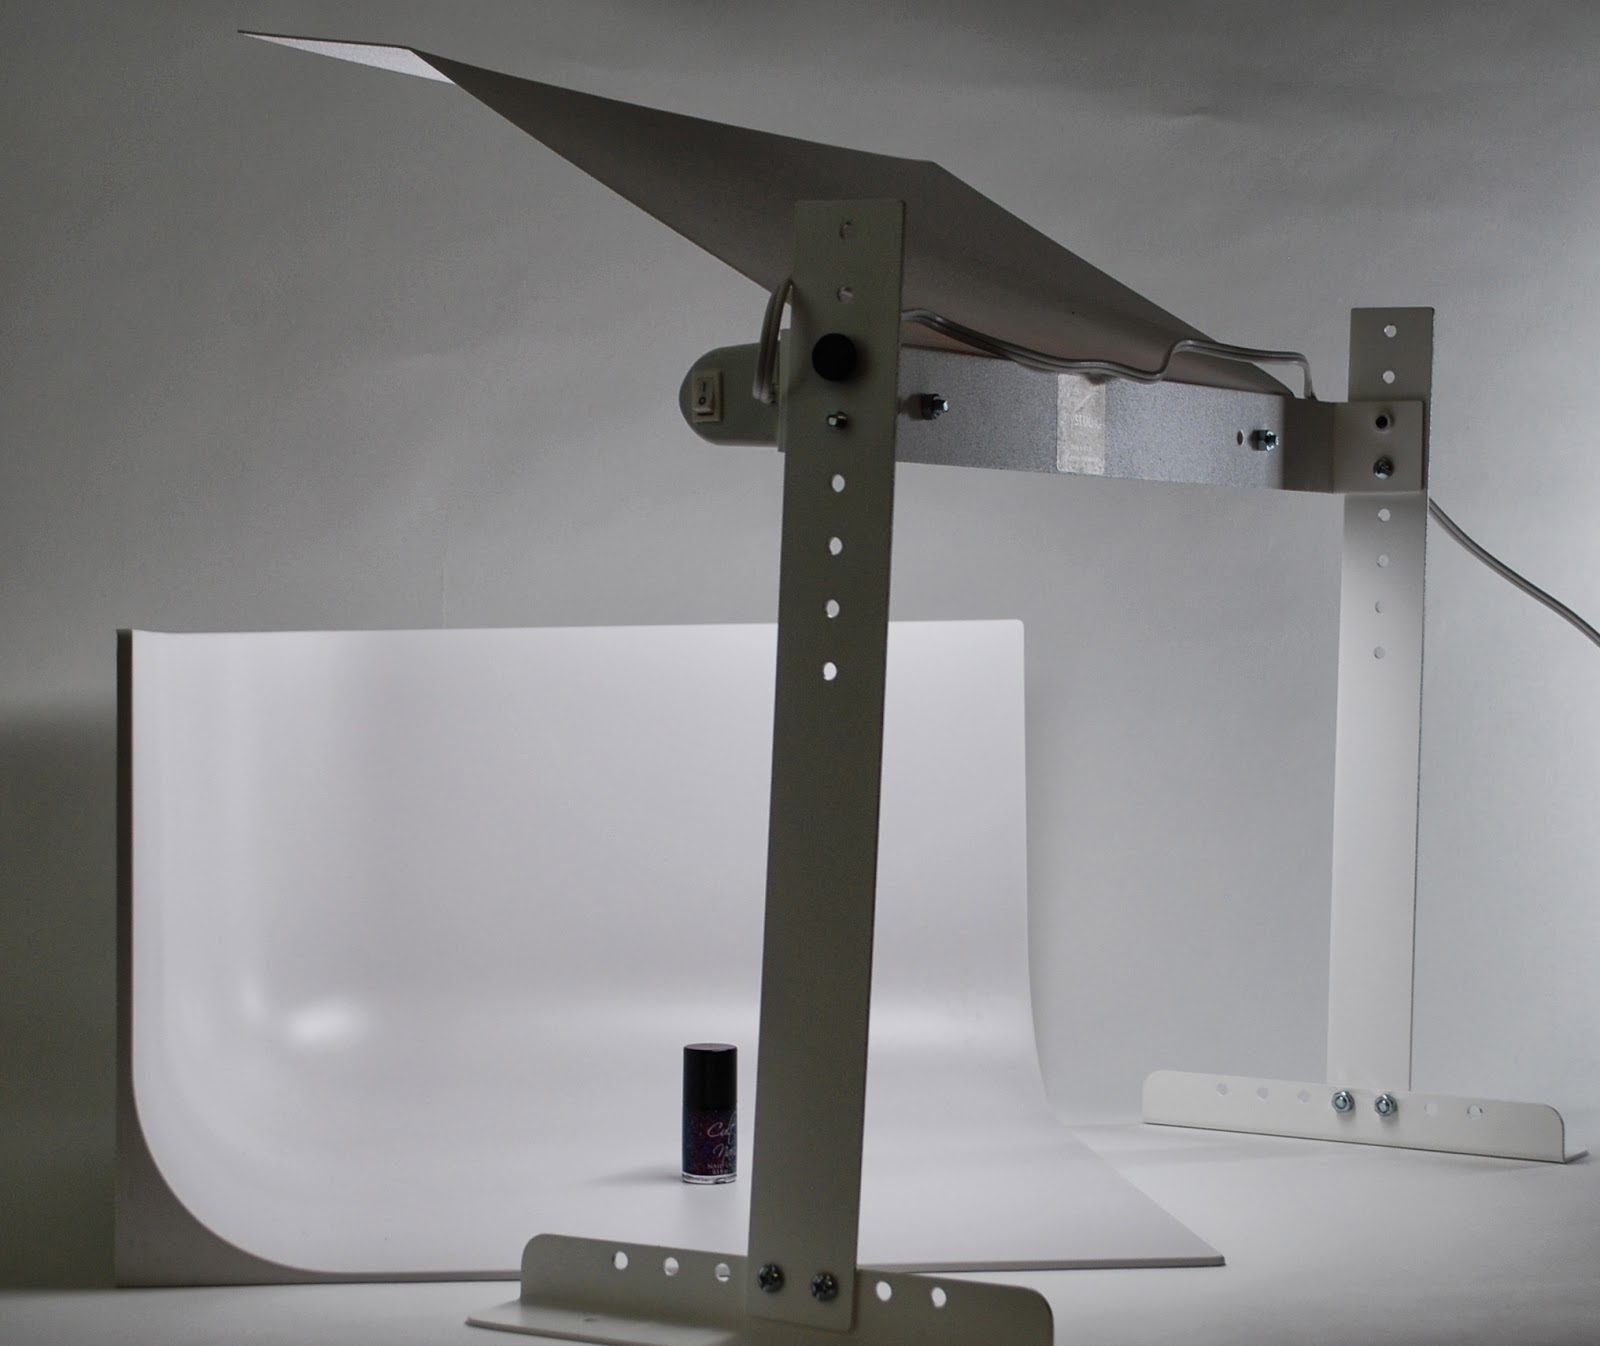
MS20 all set up and ready to go! (Note, the additional AL1 is actually off to the side in this pic, providing additional fill lighting for this image.)

|
| MyStudio MS20 shown here with added AL1 accent light over the back |
|
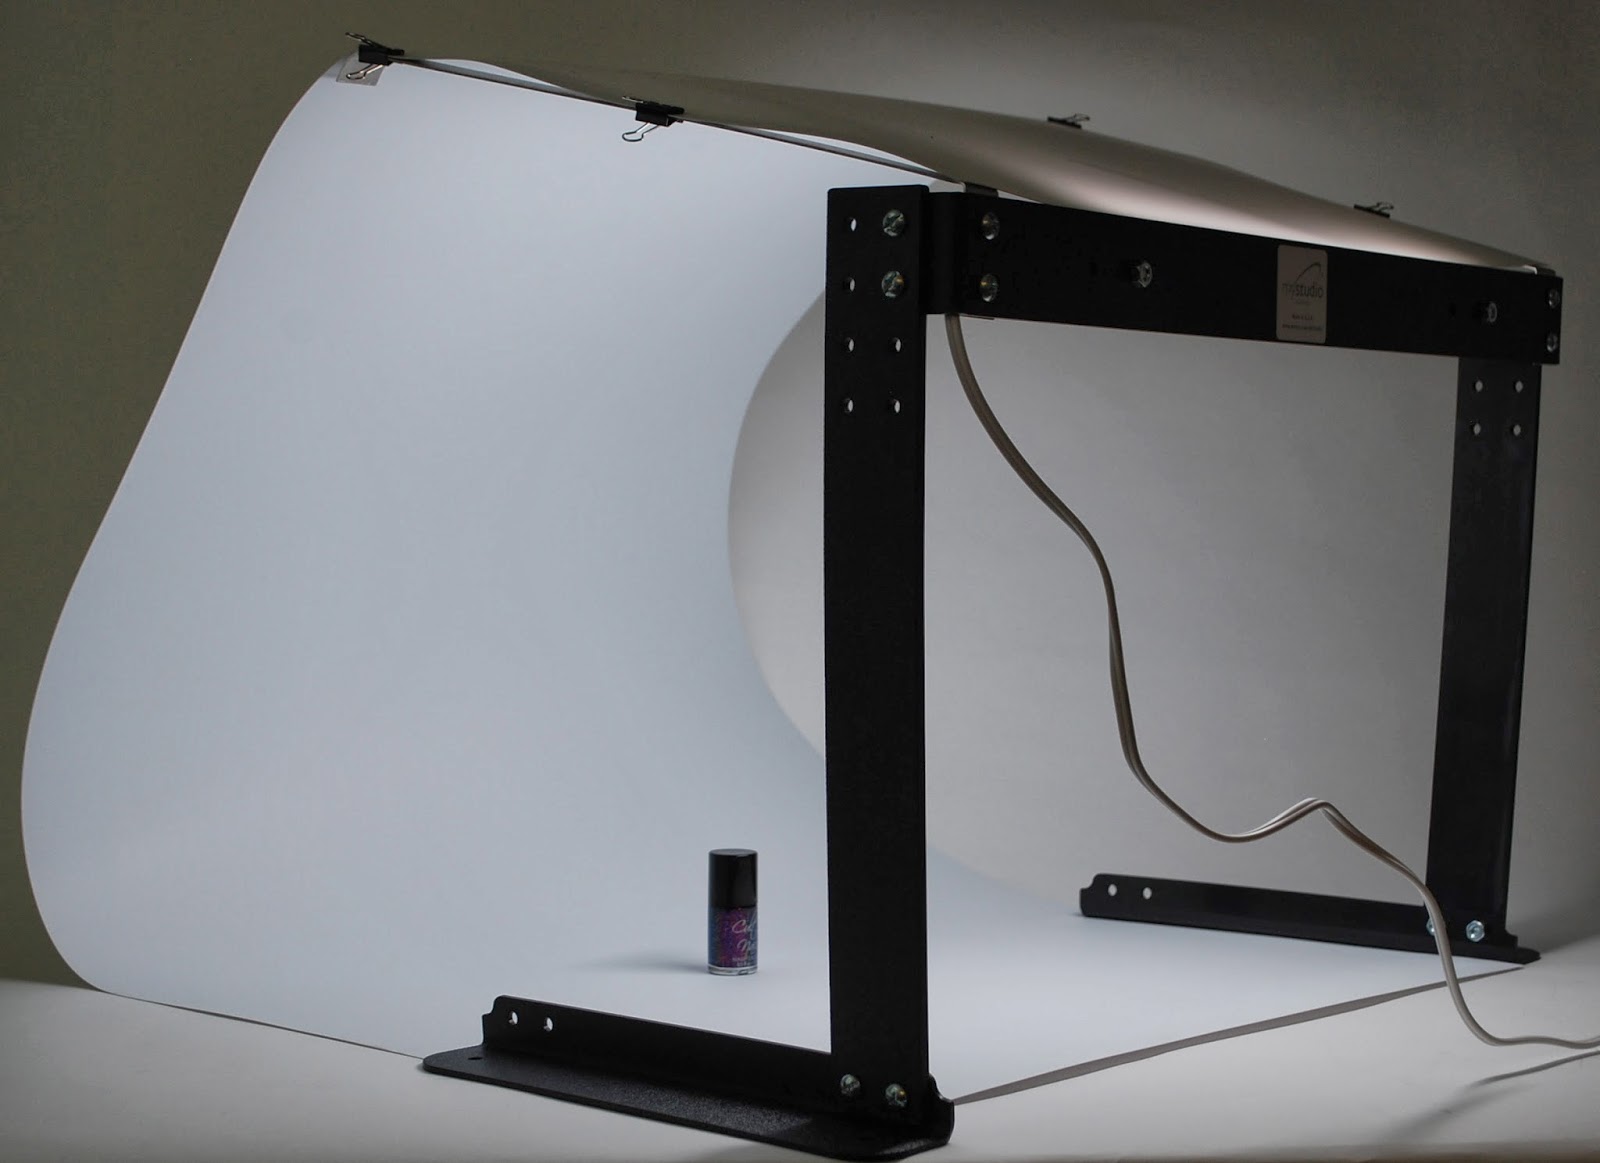
|
| MyStudio MS20 shown here with added AL1 accent light over the back |
|
In addition to the background and lighting stand, the MyStudio
® MS20 also comes with 2 reflector cards. These are free standing and can be used however you see fit to reflect light back onto your product. This is where your skill level, and a lot of trial and error come in to play. Reflectors can add or, in my past experiences, detract from the quality of an image so you’ll have to play around with these to get your images just right.

|
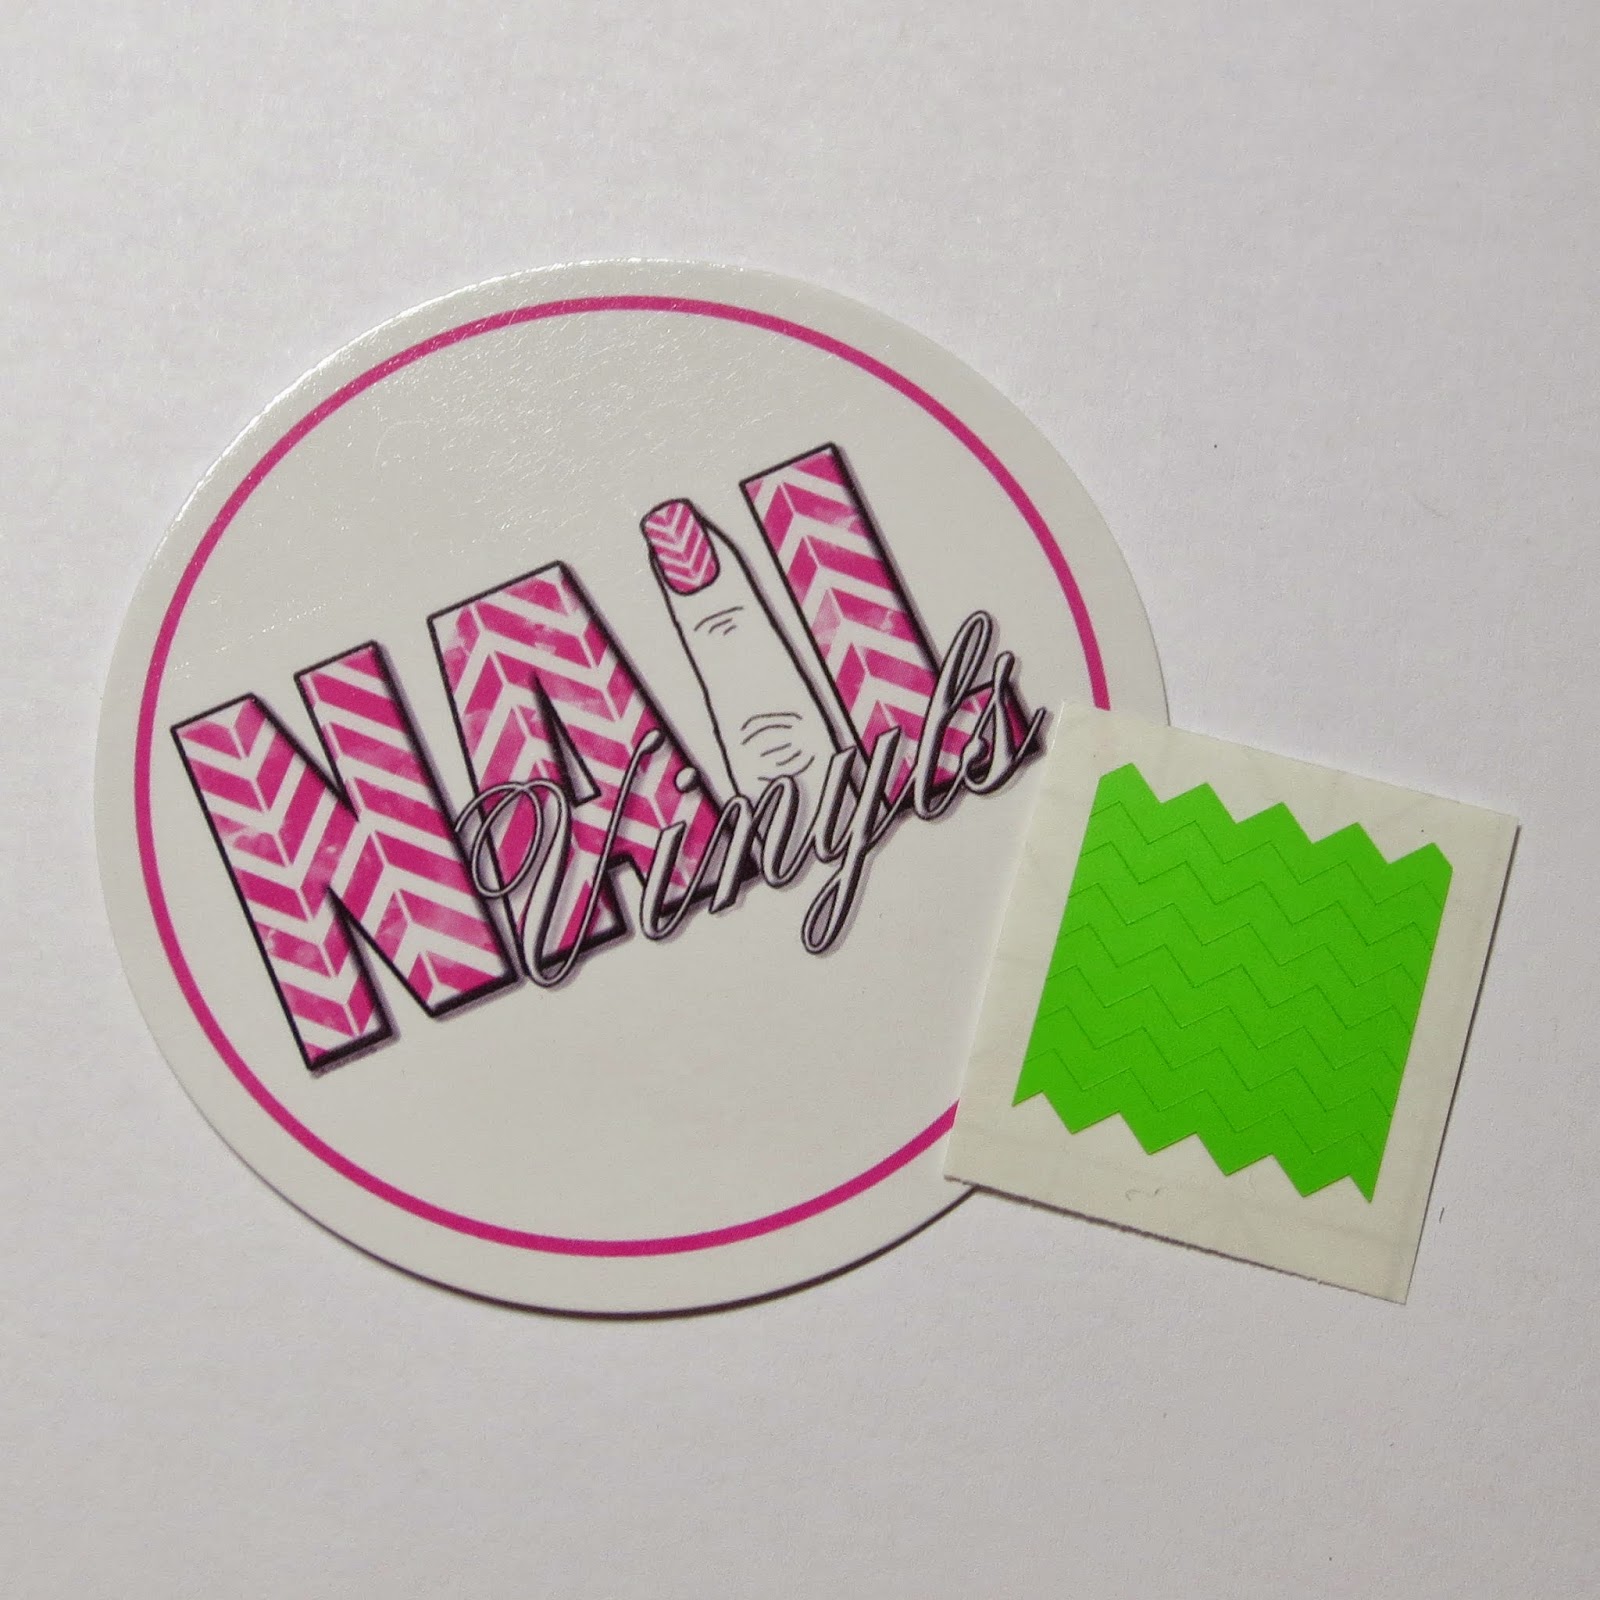
| 2 reflector cards provided with MS20, and PS5 bundle pack. (Note: The PS5 without the bundle does NOT include the reflector cards.) |
However, in the most basic configuration, you don’t even need to use them. For our website images, I placed one card about 3 inches to the left of the product. This helped to show different aspects of the color as well as dimension to shades containing glitter and shimmer effects. For the images here, to ensure an unbiased review, I did not use any reflector cards for the images of Seduction in this post.
Once I was all set up (figure this took about 40 minutes or so) I simply switched the lights on, grabbed my camera and got to shooting. I use a Nikon D80, 10 mp, DSLR that has manual options for setting the ISO (sensitivity of your image sensor to light), aperture (how much light you’re letting into the camera by telling the shutter how much to open) and shutter speed (how quickly the shutter closes once you begin the shot). The suggested starting configuration from Pro Cyc is to shoot in manual using an ISO of 200, an f-stop (aperture) of 5.6, and a shutter speed of 1/15th of a second. I took a few test shots (using a tripod to ensure no camera shake) and looked at the results on the LCD on the back of the camera. Well, so far so good, I thought. But, having been doing this for a few years now, I’d had good results on the LCD before only to be incredibly disappointed when they ended up on the computer in full size. Not this time! I took the SD card from my camera and placed it into the computer.
My leg was bouncing with excitement…I knew this was it! Or at least I hoped it was. When the images started to load on the computer I couldn’t believe my eyes. The color was incredibly accurate and the detail was impeccable; with NO editing. None. This was straight off the disk.

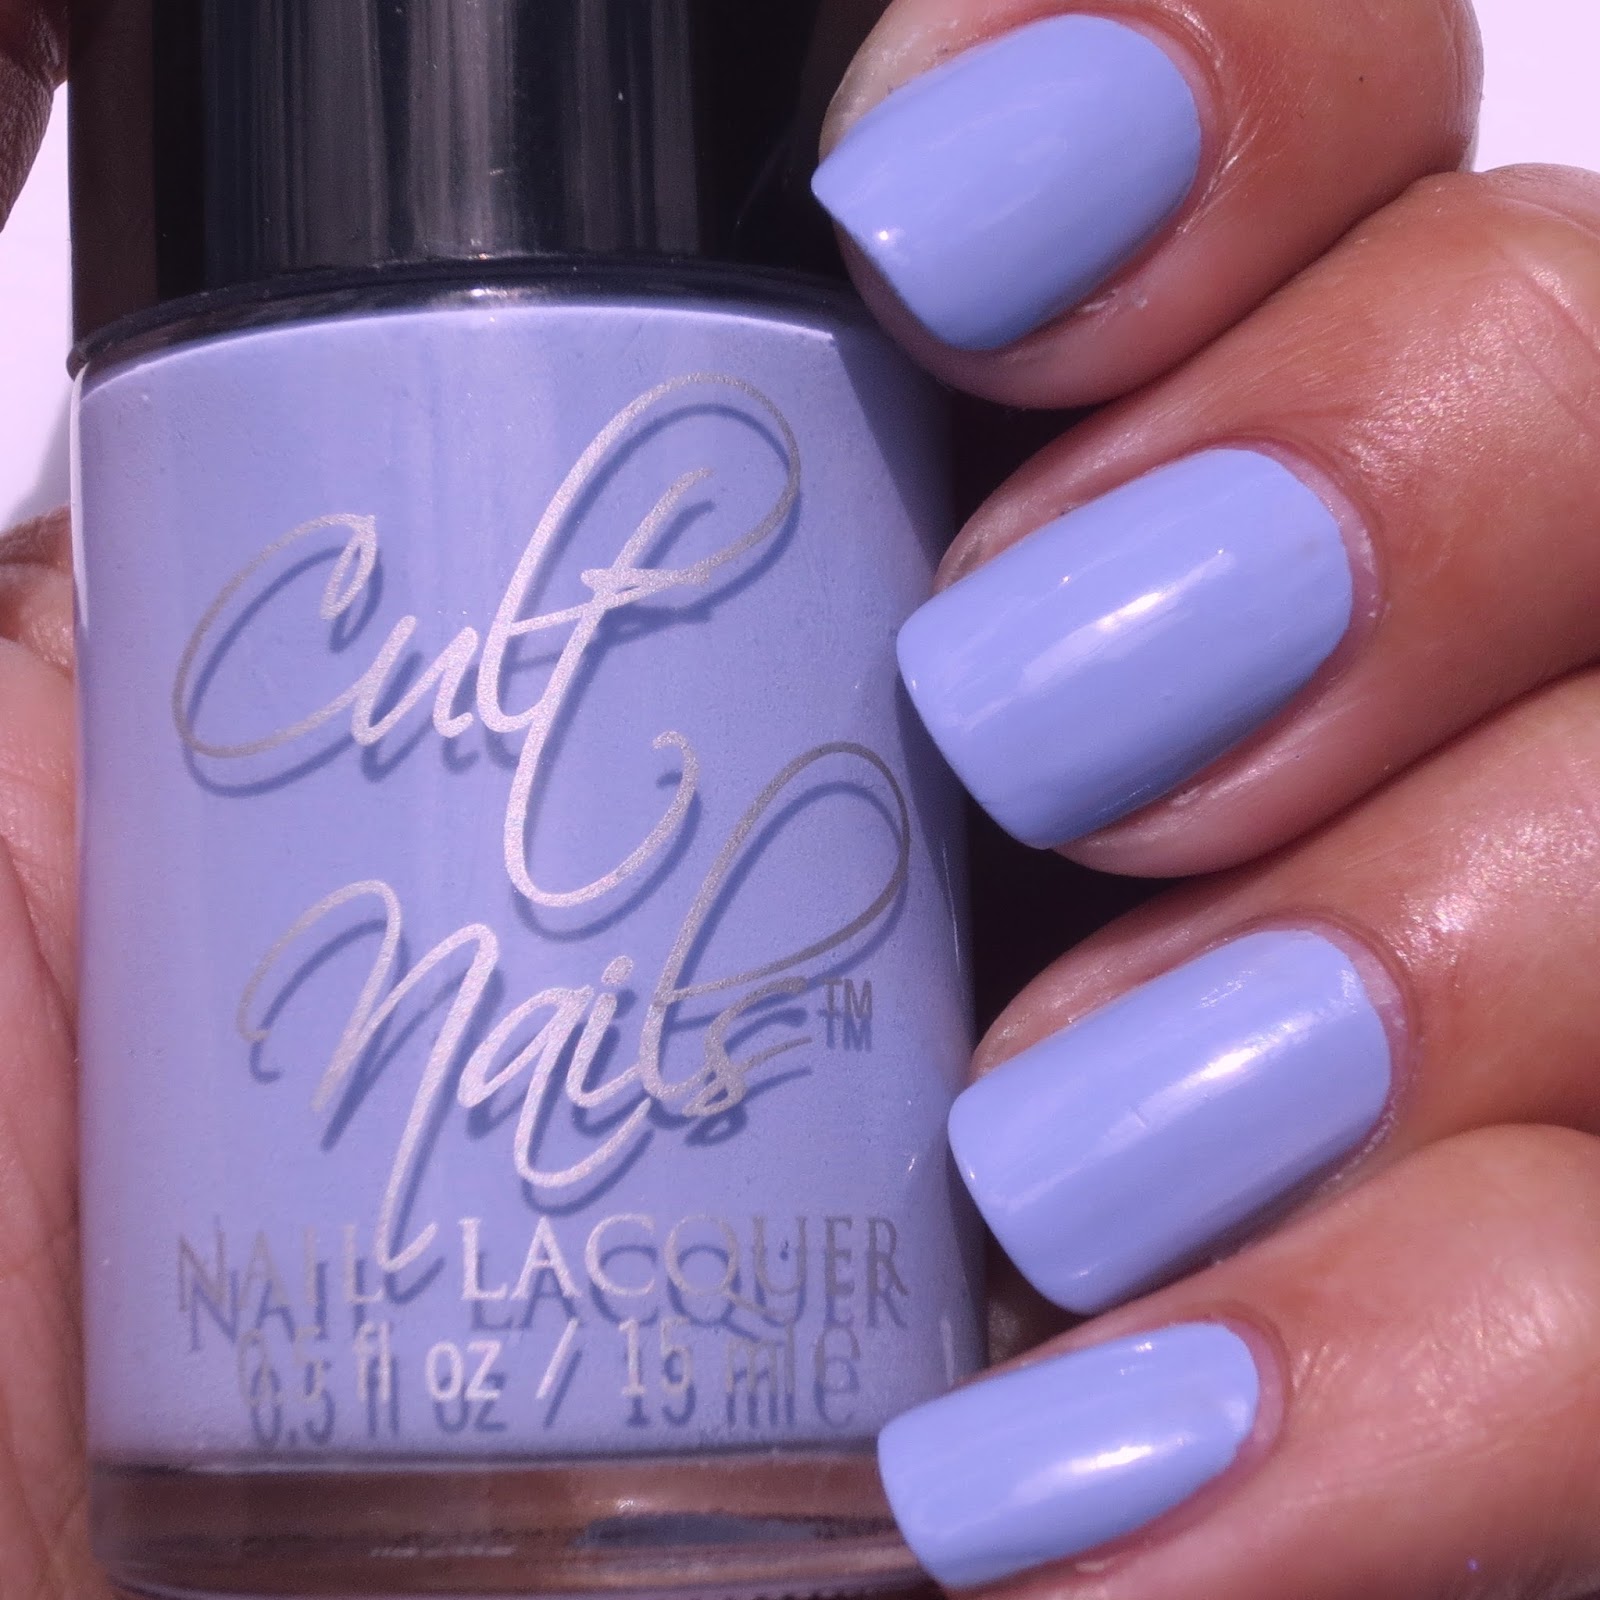
|
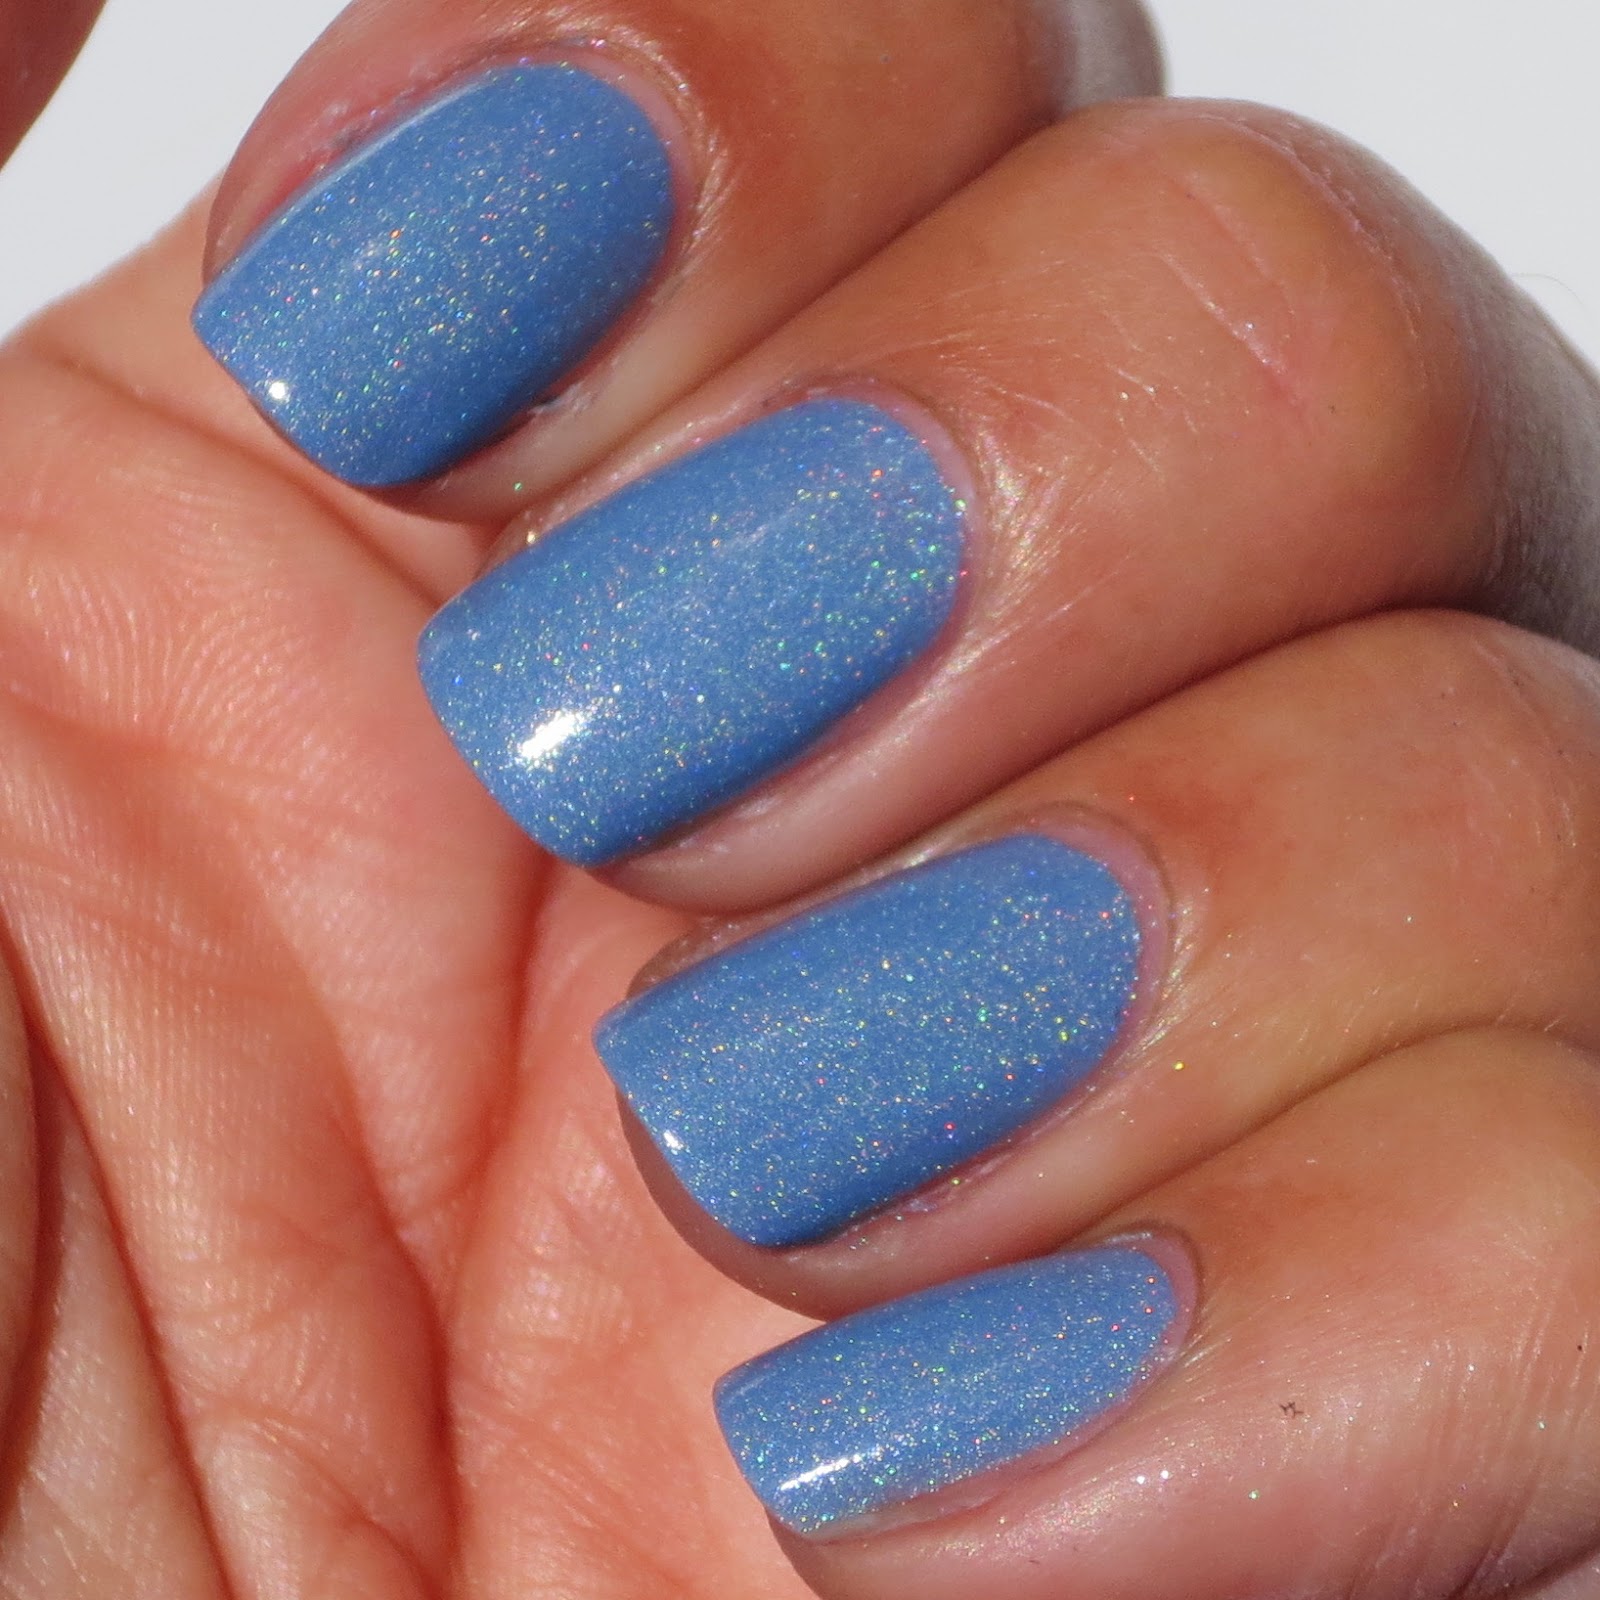
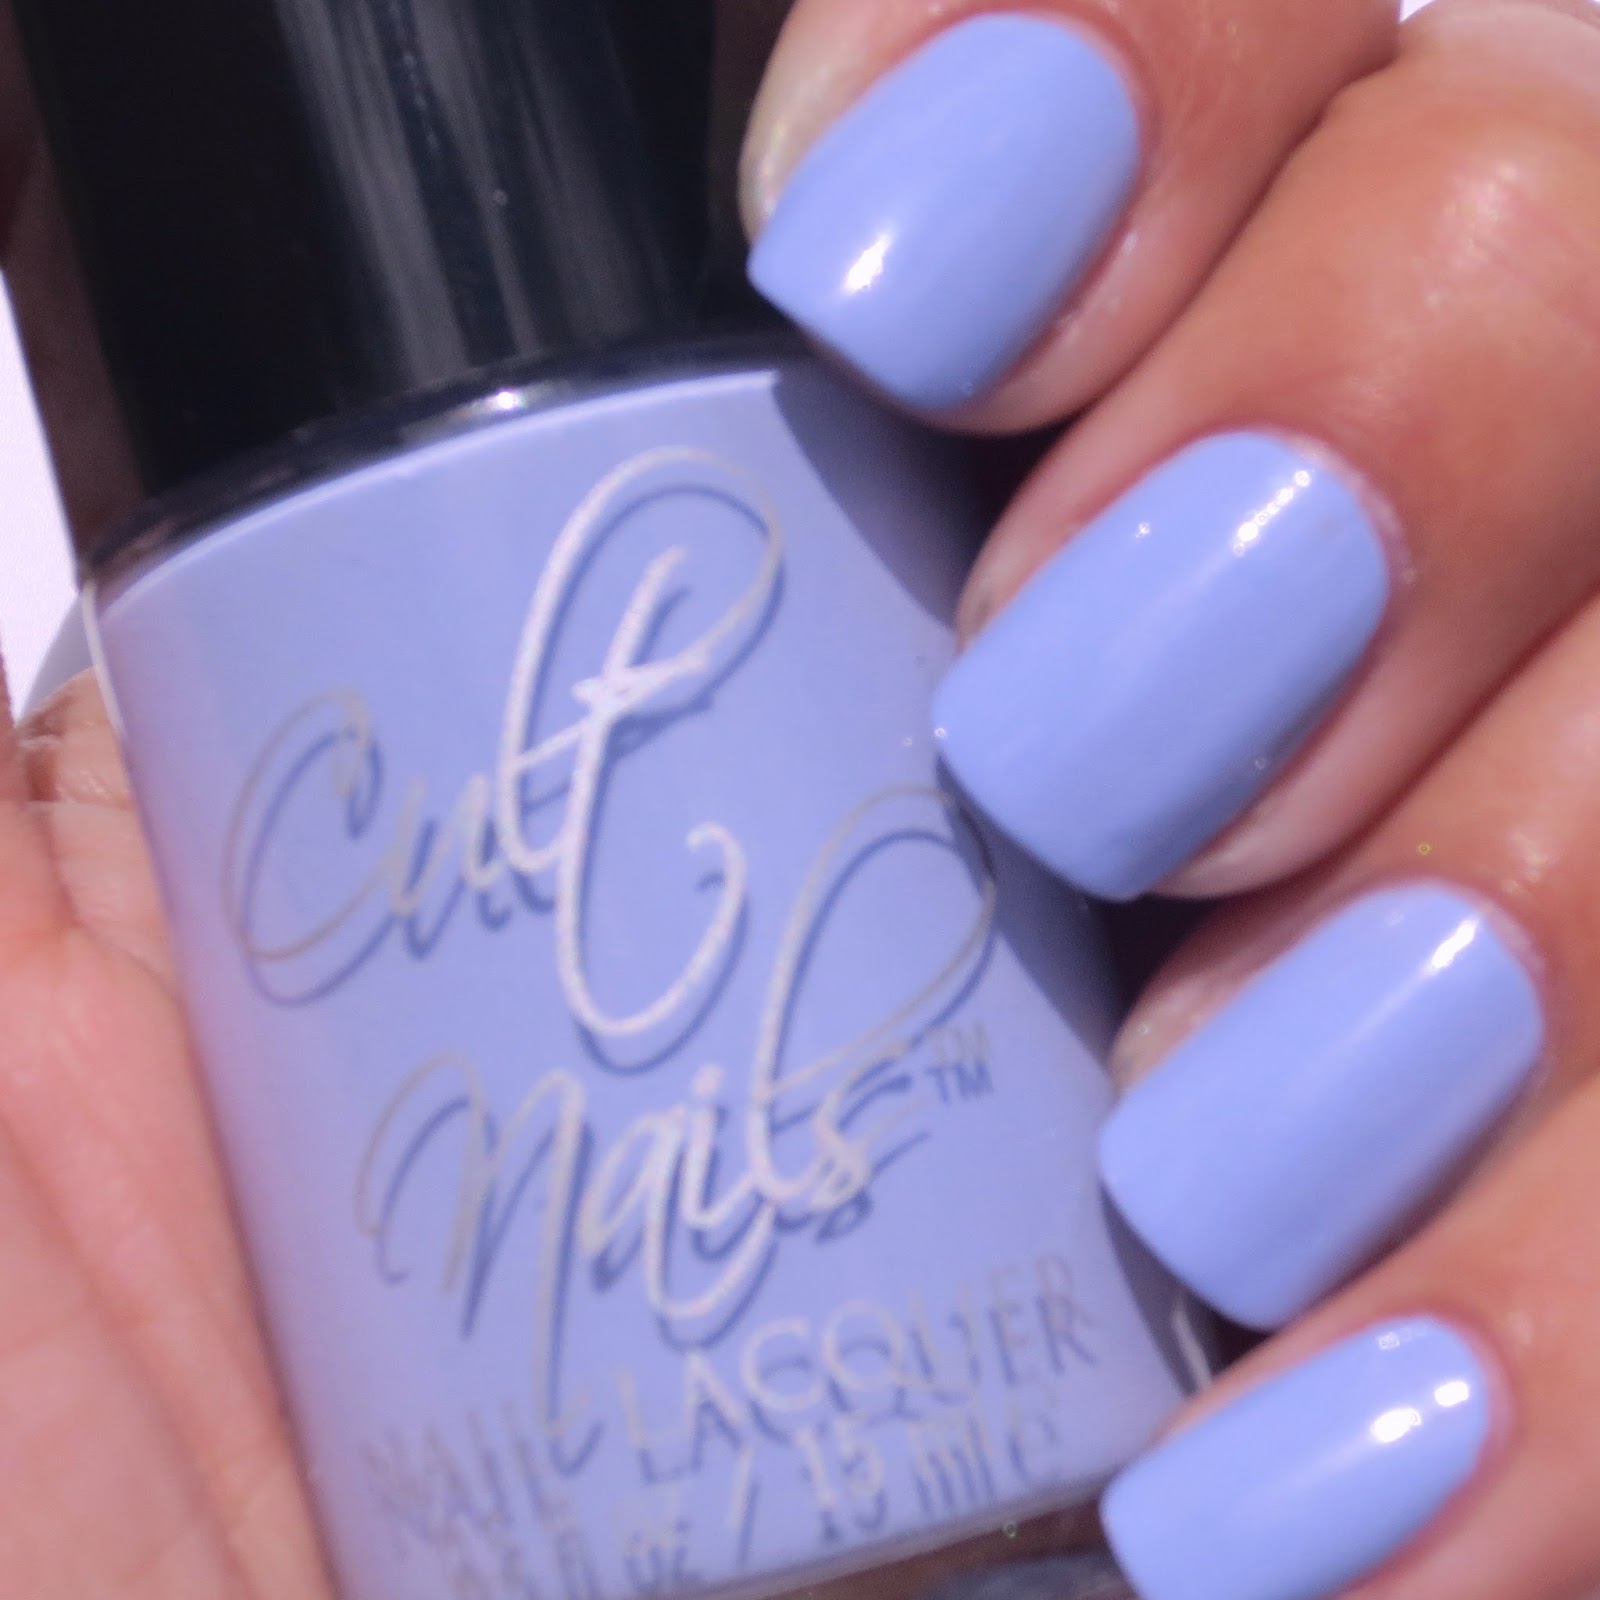
| Unedited (only cropped) first pic using MS20 photographing Let Me Fly |
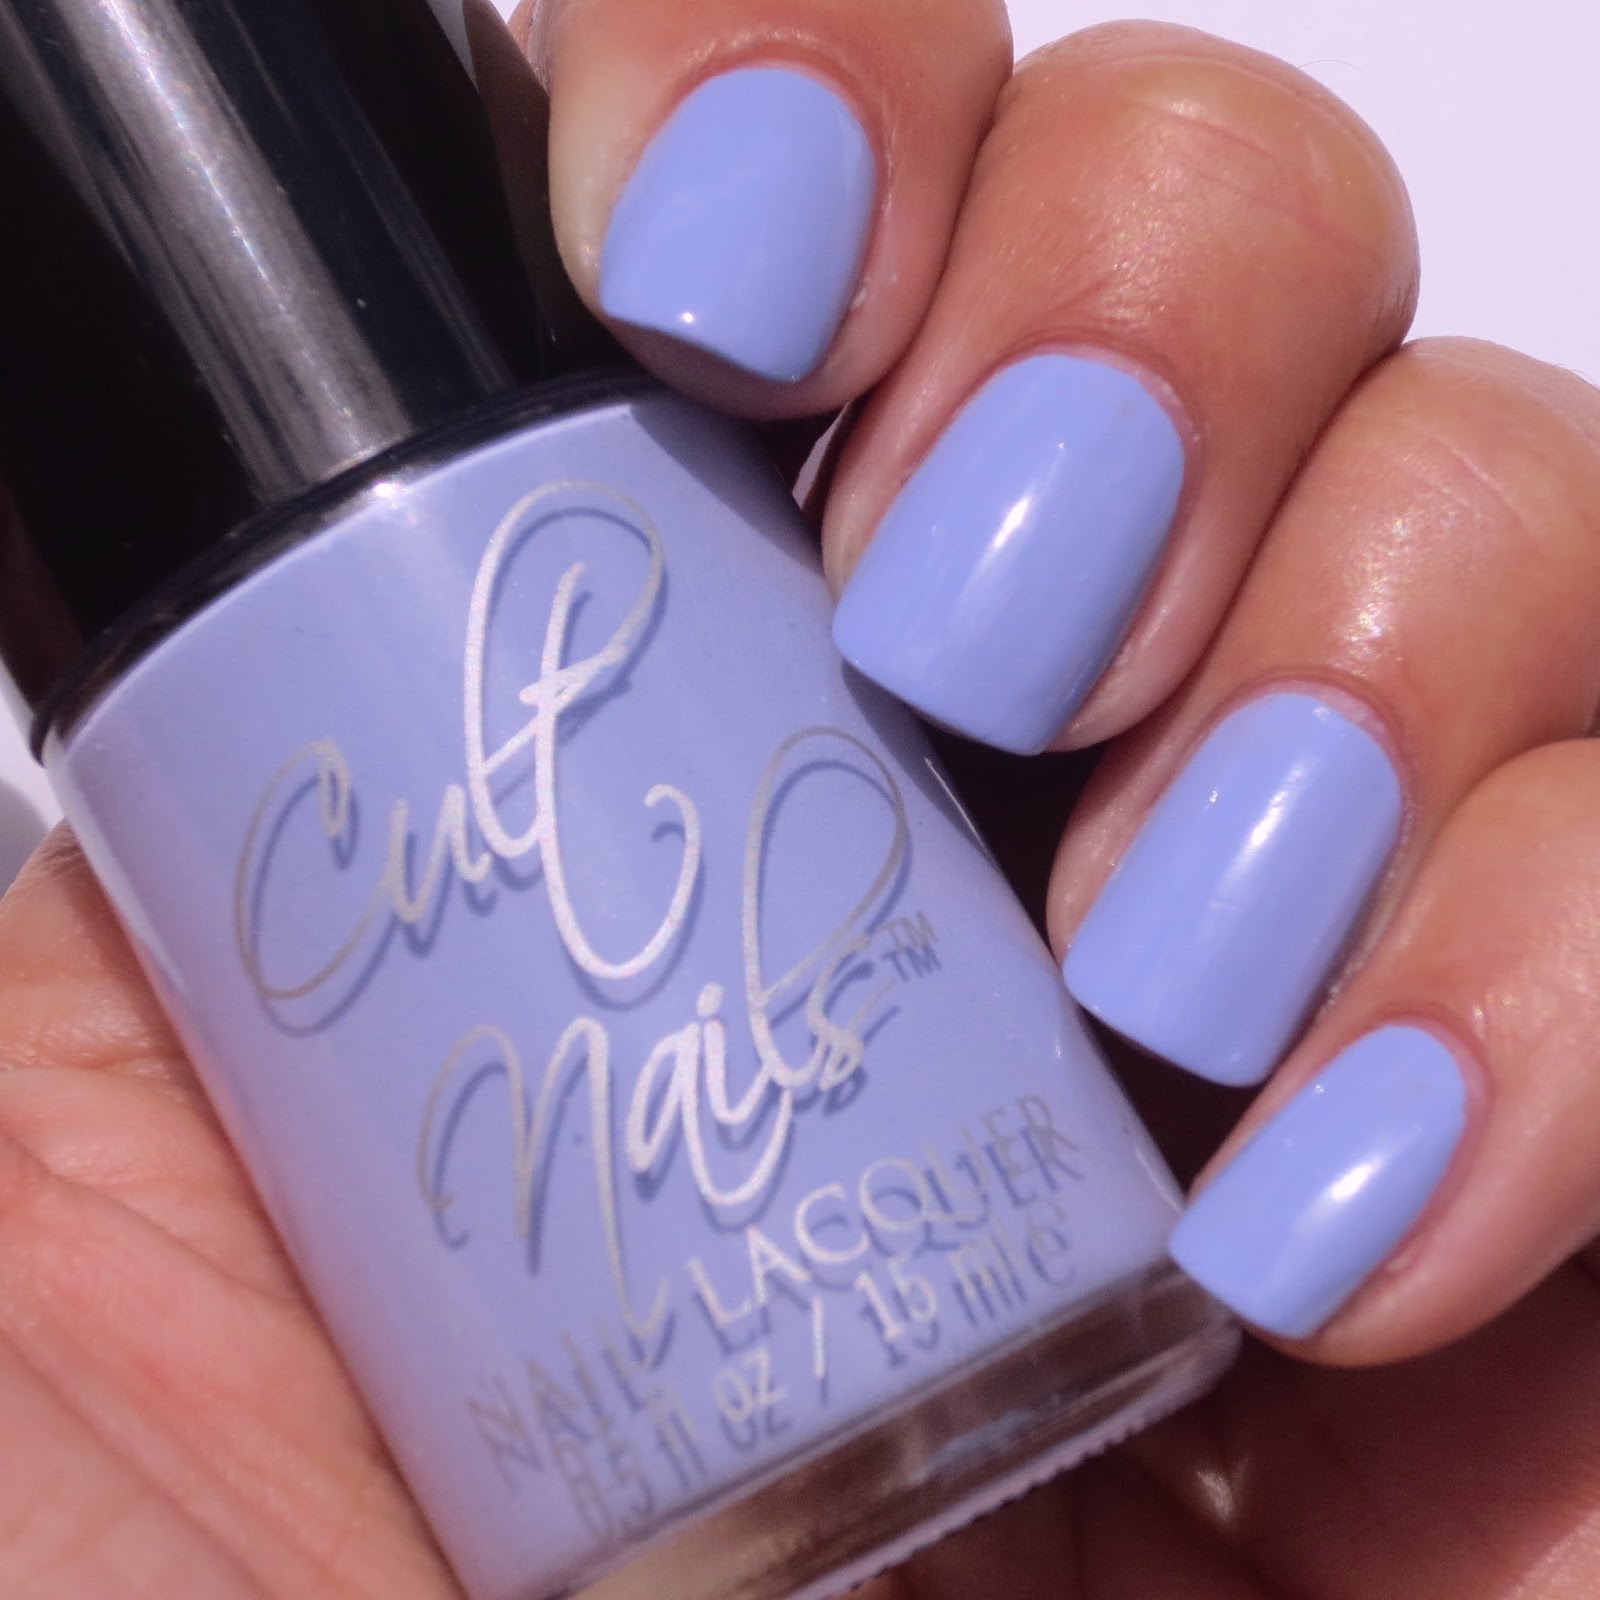
I photographed “Let Me Fly” for two reasons.
1) Blues are tough to capture accurately and 2) there is a shimmer in “Let Me Fly” that I wanted to see how it would be captured.
Well, if you follow me on Instagram, you already know how excited I was.
I immediately posted the unedited (just cropped) pic to my Instagram account.
The response was amazing.
Considering a tremendous amount of my followers on Instagram are beauty blogger, I was asked several times “What are you using to get those pics!”
Yup, they were just as excited as I was.
This product was amazing!
Simple setup, simple camera configs, simple product shots!
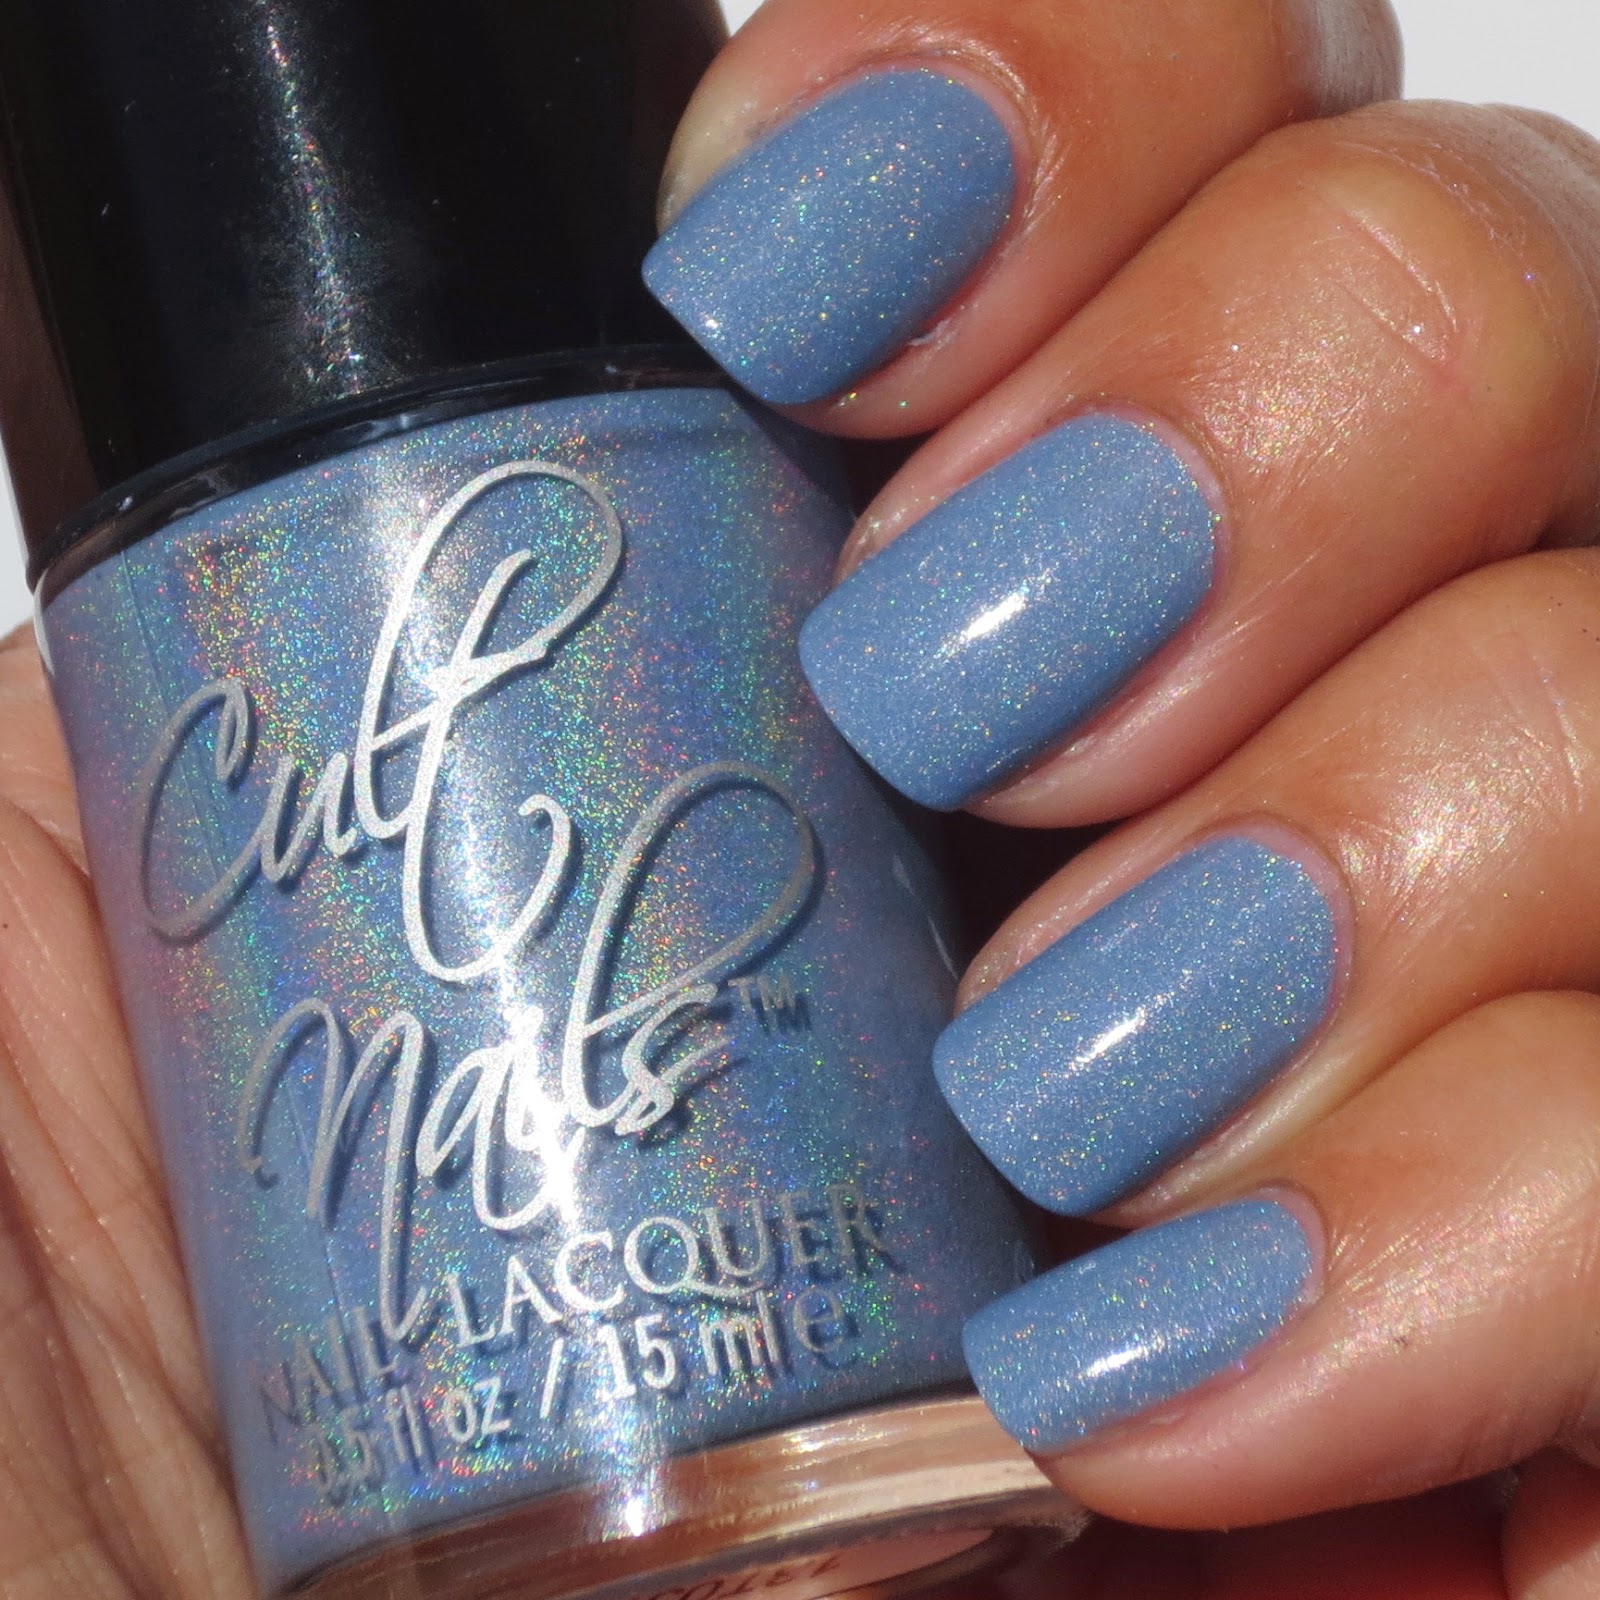
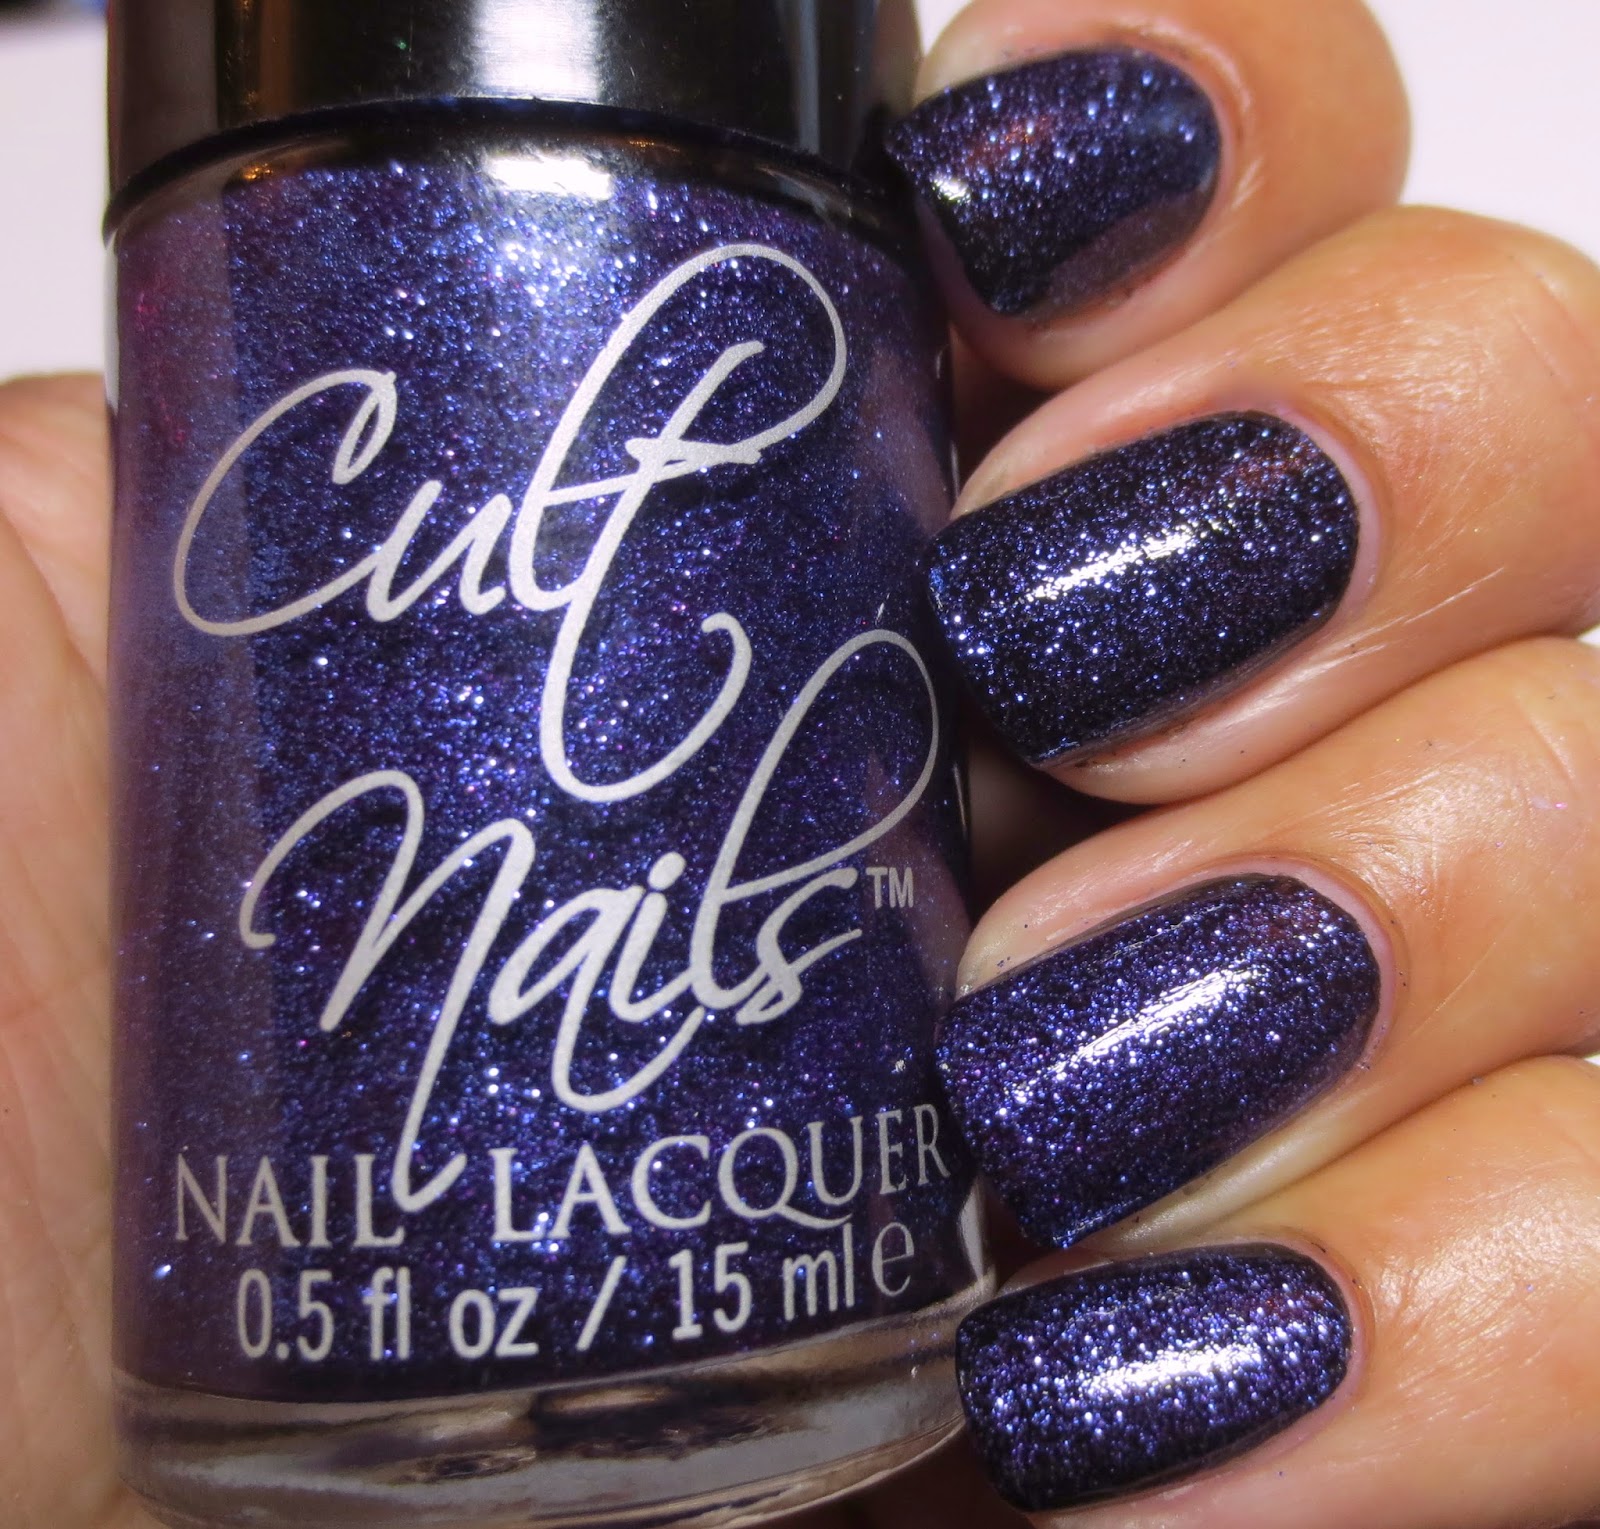
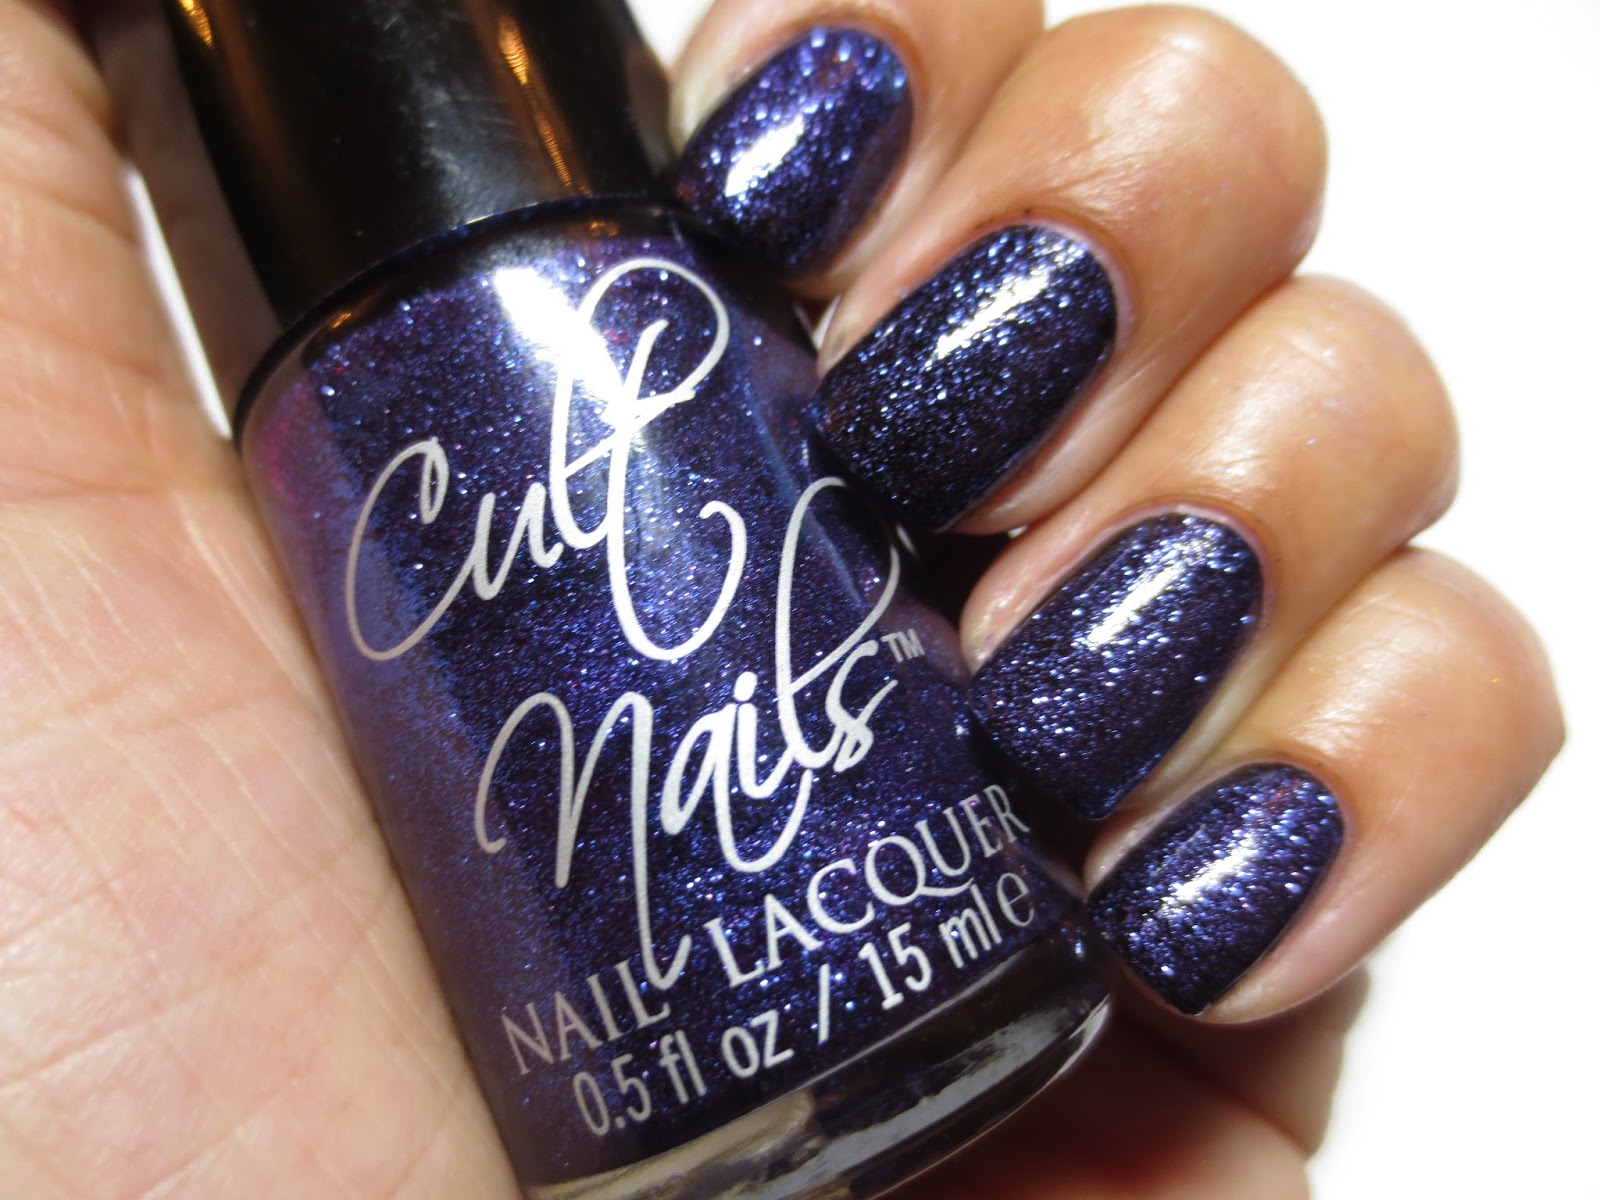
For the purposes of this blog post, I photographed Seduction (shown below).

|
| Seduction on MS20 (without added AL1 or reflector cards) |

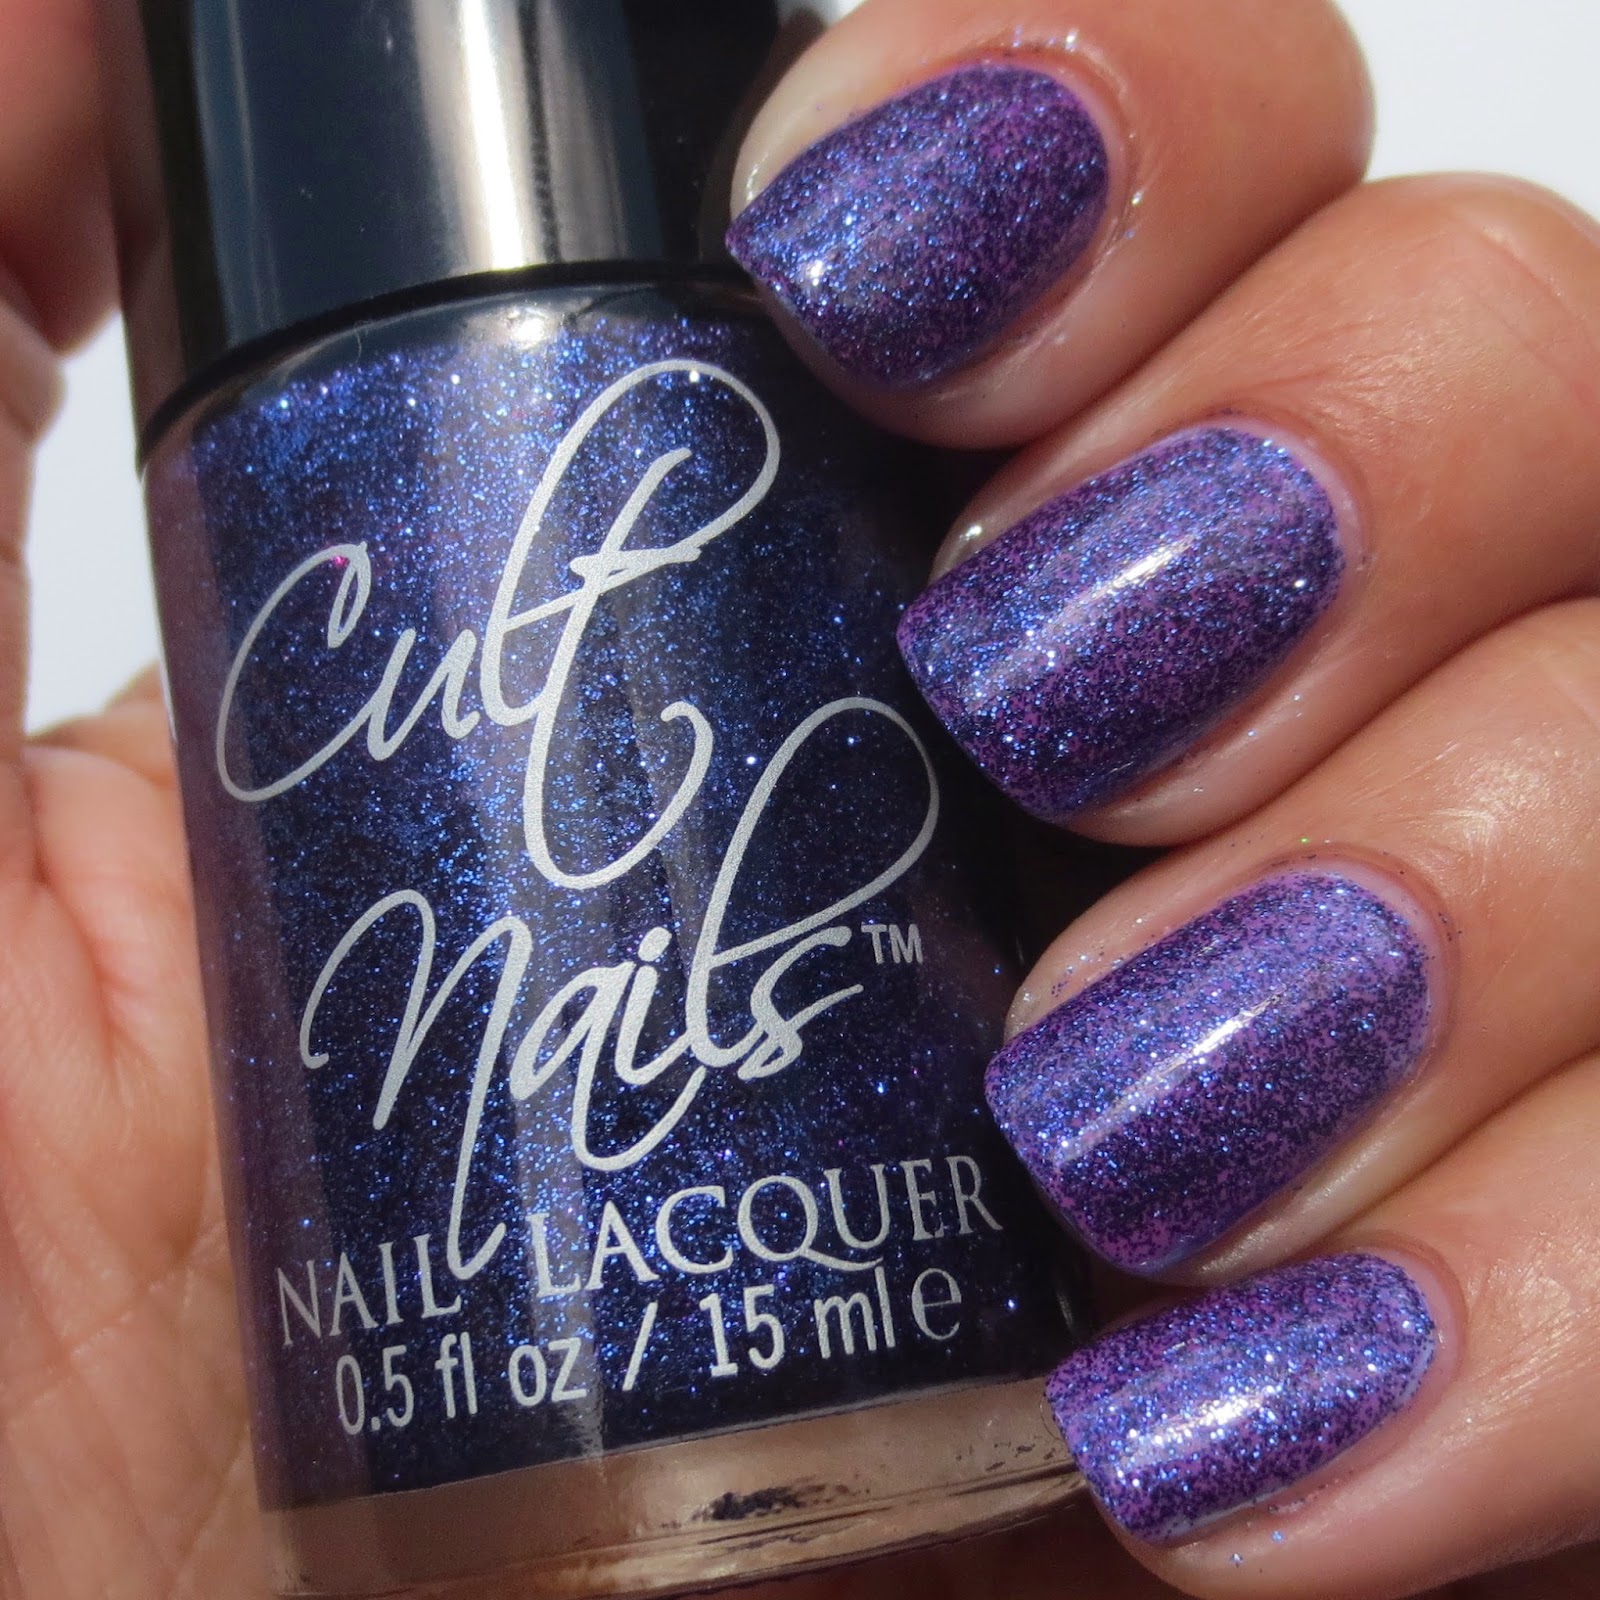
|
| Seduction on MS20 w/ AL1 on for backlight (no reflector cards) |
Since then, I’ve retaken all the images on our site and uploaded new photos. The result was astounding. The site looks much more professional, and the images are high quality and provide the customers with an accurate image of what they’ll receive. Within a few hours, I took a few more pictures of things around the house (including a small Buddha statue, and even our Chihuahua!) and had a review posted on amazon. The only thing that would make this better would be to have a black background I could also use. I’d love to be able to provide an image for customers with the product against a white background, and a black background. With that in mind, I contacted Pro Cyc inquiring about purchasing an additional background cyclorama that I could paint black and use it for just this purpose. What happened next goes beyond exceptional customer service.
I received an email back from Sean von Tagen, President at Pro Cyc, Inc. Sean was kind enough to provide me with some options pertaining to my question. He first suggested that, if using the MyStudio
® MS20 background, I could paint one using a matte finish black acrylic paint. He also offered a second suggestion of using another product they offer through the MyStudio
® line, called the MyStudio® PS5 PortaStudio Bundle.
|
| MyStudio PS5 (I included the polish just for a size reference)
|
The bundle part is what is important here because it comes with 5 background colors to choose from (in addition to the standard white. The MyStudio® PS5 Bundle pack retails for $189.95 (Prime price of $141.95). Now, I admit, I did consider the MyStudio® PS5 (not bundled, just the white background) but it seemed to me, well, a little cheap. Being that I’d already tried several less expensive options, I figured this would be another “you get what you pay for” scenario. Again, I was wrong. But I’ll get to that in a minute. So, back to the email… Sean then offered, after a few exchanges of thoughts, opinions, and messages, to send me the MyStudio® PS5 in exchange for a review on this blog. How the heck could I turn that down? So, about a week goes by and I find myself with another box from Pro Cyc. Again, this went from box to ready in about 40 minutes as well. First impressions, after using the MyStudio® MS20, was that I was right, this is cheap. The stand for the light is made from acrylic, versus the powder coated aluminum stand with the MyStudio® MS20. But, I didn’t let that slow me down from finishing the set up and getting started. Basically, you set up the stand, then, using the provided clips, attached the straight white background to the overhead reflector and simply bend the background and tuck it under the legs of the lighting stand. Super easy set up. Once ready, I set the camera to the suggested configuration (same as previously mentioned) and shot a few test shots. And the verdict is??? I got nearly the same results.
|
|
| Seduction on PS5 (no AL1 or reflector cards) (Note the product looks great, but for my needs, a pure white background was desired. For most needs, this lighting configuration should do the trick! Again, this was using the suggested camera settings with no editing.) |

|
| Seduction on PS5 (added the AL1 to the side, note the difference in the background color... but also not the shadow if that is a concern to you. The product image is great here!) |
While this made me excited, I then wanted to continue with some test shots using the black background. As I mentioned, I wanted a solid black background. No reflections, no gradient effect, just solid black. So, using some additional clips (also provided) I affixed the back background card to the existing white.

|
| MyStudio PS5 with added black background |
A few shots with the suggested camera settings, and I was a little disappointed. I stress, a little disappointed. The product wasn't as vivid as I'd expected. Still a quality image, it just didn't provide the same pop as it did against a white background. No big deal, really, but this is where the "intermediate" skill level part comes in.

|
| Seduction on PS5 (close up using suggested camera settings) |
Time to make some adjustments. In order for me to get color accurate pictures, that showed the intricacies of the polish against the black background, I needed to adjust some of the camera settings. After some trial and error, I finally set on ISO 200, f/5.3 and 1/6 sec for the shutter speed. This did yield quite accurate color, but the bend in the background (though great for providing the infinity look against white) did end up with a gradient effect due to the light reflecting off the background. Not exactly what I had imagined, but did the PS5 provide me with even lighting and a seamless background? Sure did. Looking now, I needed to dust this baby off a bit. My bad...

|
| Seduction on PS5 (close up with adjusted camera settings ISO 200, f5/6, 1/6 sec) |
I also tried adding the AL1 and lighting the product from the side, and I got a more improved product shot, but the background lightened from black to a more intense gradient of gray to black. Now, this is not to say the image quality was poor, or the lighting was poor, or even that the background was poor. It simply was not the aesthetic that I was going for.

|
| Seduction on PS5 (close up with adjusted camera settings and added AL1 to right side) Eek, look at the dust. Lesson learned there.... |
Since I didn’t intent on using the additional colors in the bundle (grey to tan) I didn’t attempt any shots using them. This all being said, if you don’t intend to use any colored backgrounds and want white only, you can also consider the MyStudio
® PS5 Portstudio (not with the bundle). This includes just the light, stand, and white background (no reflector cards, but they’re not essential to get good pictures. The MyStudio® PS5 on its own sells for $149.95 (Prime price is $99.95). Now we’re talking! So, you can essentially get the same quality pics with the MyStudio
® PS5 that I got using the MyStudio
® MS20 and save yourself about $175. The one major difference in the results of the pics is that using the PS5, there is a slight graying of the background (but the product itself still shows very well). This is also seen when using just the one light provided with the MS20. Of course, making adjustments to your camera setting, you could probably reduce that to get exactly what you want, but I’d prefer to not spend hours of trial and error when I already know what works. Add to that, using the AL1 as a backlight made all the difference in the world for taking pics I didn’t need to edit. However, if you’re a hobbyist and want great product shots but don’t necessarily require a pristine white background, then the MyStudio
® PS5 is absolutely for you. Also, if you’re taking shots of your hands to show nail polish or make up swatches, the PS5 may be a better fit for you since there are no sides to contend with as there are on the MS20. A final note on the PS5 (similar to the MS20) is storage. It takes up about the same amount of space once set up, but since the background can be removed and rolled, you’re left with the storage of the light fixture/stand. But, again, to get the quality images you want and need, you may have to sacrifice some space. Believe me, the results are worth it.
I hope you found this review helpful, and would love to hear your feedback. I can also try to answer any questions you have about either product; but remember, I am a novice so no crazy technical questions. J
**NOTE: the MyStudio® MS20 was purchased by me; the MyStudio® PS5 Bundle was sent for an honest review by Pro Cyc, Inc.
**NOTE: I did not try the product using a standard point and shoot camera, and cannot attest to any results using anything other than my Nikon D80 DSLR.


