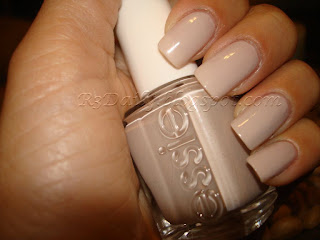
I get asked all the time for tips on growing nails, and making them look like mine. So many people think it is genetics, but the truth is, very little has to do with your genes. You can have good nails! I know - I used to be one of those people who thought it just wasn't meant to be for me. Not anymore!
A friend came to me yesterday and said she would love to serve as a before & after. That is all the push I needed. Off to Sally's I went and I picked her up some items I think she needed to get her going. Below are the instructions I am giving her. Follow these instructions and within three months you too will have beautiful nails!
As an added bonus to get this blog moving, once I have 50 followers, I will raffle of a nail care kit to help you get started at home!(look for details on Monday)
First and foremost, you should have a healthy diet. After all, you are what you eat! But your nails can use a boost of vitamins. I use Biotin. It is good for your skin, hair and nails and for me it makes a huge difference. (Before adding any vitamins to your routine, consult with your doctor.)
Supplies:
Nail polish remover
Felt or Cotton Balls
Cuticle Remover
Cuticle Pusher
Nail Clippers
Crystal, Metal, Diamond or Sapphire Nail File
Hand Lotion
Nail Brush (optional)
Base Coat (get one to meet your needs)
Ridge Filler (optional)
Nail Polish
Quick Dry Top Coat
Cuticle Oil or Creme
Small Paint Brush (optional)
Do the following once a week:
Step 1: Remove any polish off your nails. (I use felt instead of cotton balls. I buy the felt fairly cheap at a craft store and cut in into squares. 1 square will remove the polish off all 10 nails!)

Step 2: Apply cuticle remover to your cuticles and rub it in. You can find this at your local drugstore or beauty supply store.


Step 3: While your cuticle remover is working it's magic, file your nails into the desired shape (Sorry - forgot to take pics of this step)
Step 4: Using a cuticle pusher gently push back your cuticles. You want to use a gentle motion on the surface of your nail to pick up the cuticles stuck on your nail bed. The key word here is GENTLE.


Step 5: Using cuticle clippers trim off any loose or hanging skin. DO NOT cut your cuticles, just any stray hanging skin.

Step 6: Apply lotion. This will help them stay moisturized with all the products you are using on your hands. (Don't use this much lotion, I was busy talking while lotioning my hands - oops!)

Step 7: Wash your hands, focusing on cleaning the cuticle area and nails. You may want to use a nail brush for this. If after washing your hands, your nails are still oily from the cuticle remover or lotion, swipe nails with alcohol or nail polish remover (preferably one that does not have nourishing ingredients in it).
Step 8: It is time for the base coat! I personally use Nail Magic. This can be found in the U.S. at Sally's Beauty Supply. There are several products out there geared towards specific nail needs. Go to a drugstore or beauty store and look around, you'll be amazed at all the products available. I prefer to use a base coat that has some type of treatment in it. For me Nail Magic is truly Magical! I won't go without it!

Step 9: Apply your polish. I go with the three stroke rule. I first stroke a coat of polish in the middle of my nail starting back towards my cuticles and going to the free edge of my nails. Then the left side, then the right. It may not look perfect, but you'll add a second coat to even the color out. If you are using a dark polish this should be all you need, sometimes a third coat is needed for lighter shades. Try to apply thin even strokes.

Step 10: Apply a quick drying top coat to your nails. Seche Vite is one you can find almost anywhere and it is pretty good. Here I use Nubar Diamont. With either of these my nails are dry to the touch in about 5 minutes. I can do dishes, laundry, sleep or whatever within 30 minutes. (Shhh, don't tell my husband!)

Step 11: Using a small flat paint brush and some polish remover, clean any polish around your cuticles. I follow the steps on MeganChair's blog. With her permission here is the link to her blog on the cleanup: http://littlemusicboxes.blogspot.com/2010/01/how-to-get-that-picture-perfect.html

Step 11: Apply cuticle oil to your nails

Step 12: Apply lotion

You are done! That is it! This is the once a week manicure. This should take you 45 - 60 minutes each week. Grab a glass of wine, enjoy a show or movie and sit back and treat yourself once a week to beautiful nails!
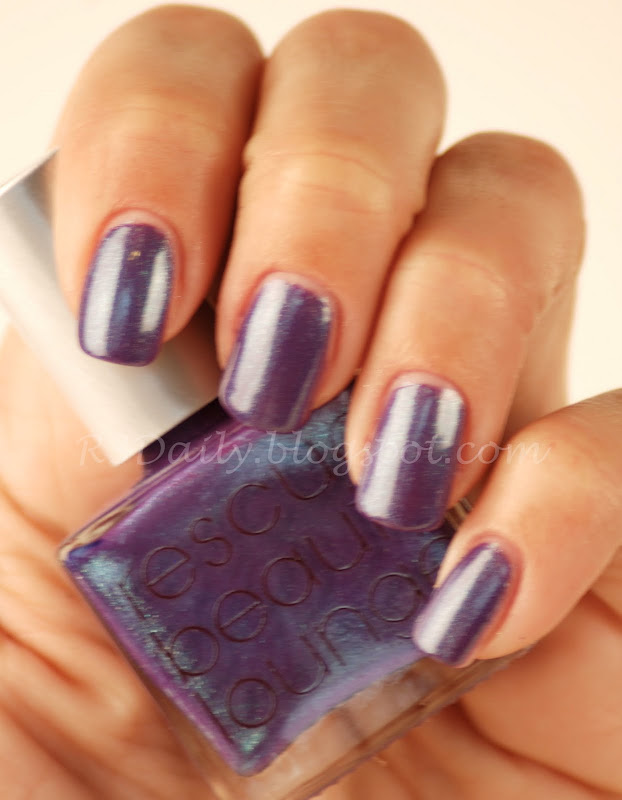
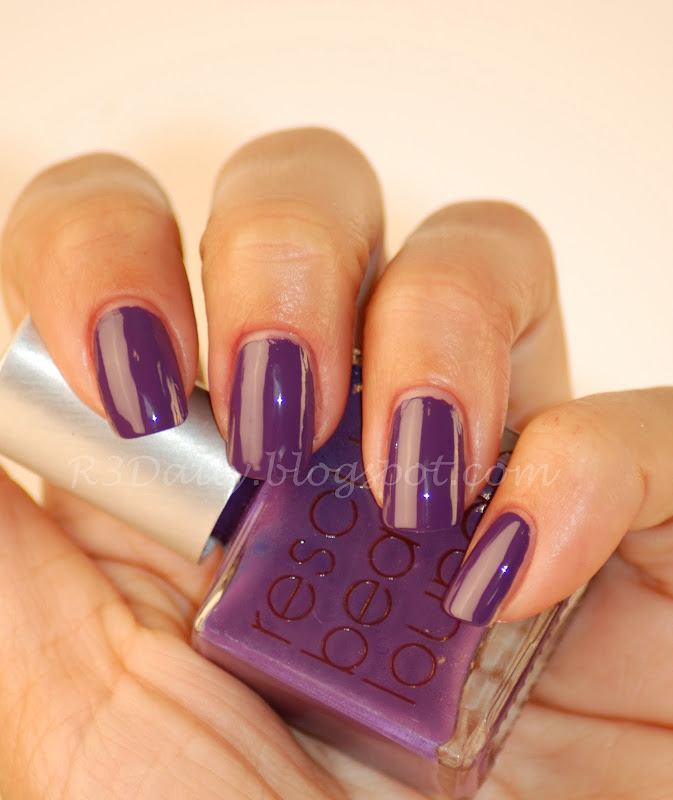
Here is a picture of my final manicure. I used Rescue Beauty Lounge, Killa Red. This brand is one of my favorite polish brands. I have a feeling you will be seeing alot of these in my blog.
 But wait there is more!(he!he! Just had to say it!) Every 3rd day remove your polish and start this process over starting at Step 6. You want to change your polish to keep them looking their best - this will also make you pay attention to how you treat your nails. This should only take you about 30 minutes.
Use cuticle oil or cream at least twice a day. Think when you wake up and before you go to bed. You can use it more if you want or need to. I keep some creme with me just in case I get really dry throughout the day.
Lotion your hands throughout the day. Invest in a good hand lotion. Do not use body lotion for your nails.
And lastly - when cleaning or doing dishes - wear latex or vinyl gloves. This will protect your hands and nails. I like to throw on some lotion and then the gloves. It is like getting a mini mani while I clean!
Before you know it, you will have beautiful nails! My friend is going to get started this weekend. Look for before and afters on Monday. I'll keep you all posted on her progress.
